Post Announcements
Context
The announcement feature is a great way to promote your upcoming program events and can also be used to communicate any other important information. i.e. events, program policy change, new resource posted, welcome message, upcoming survey notice etc...
Program announcements are automatically posted on the members dashboard.
Post an Announcement
To post an announcement, follow these steps:
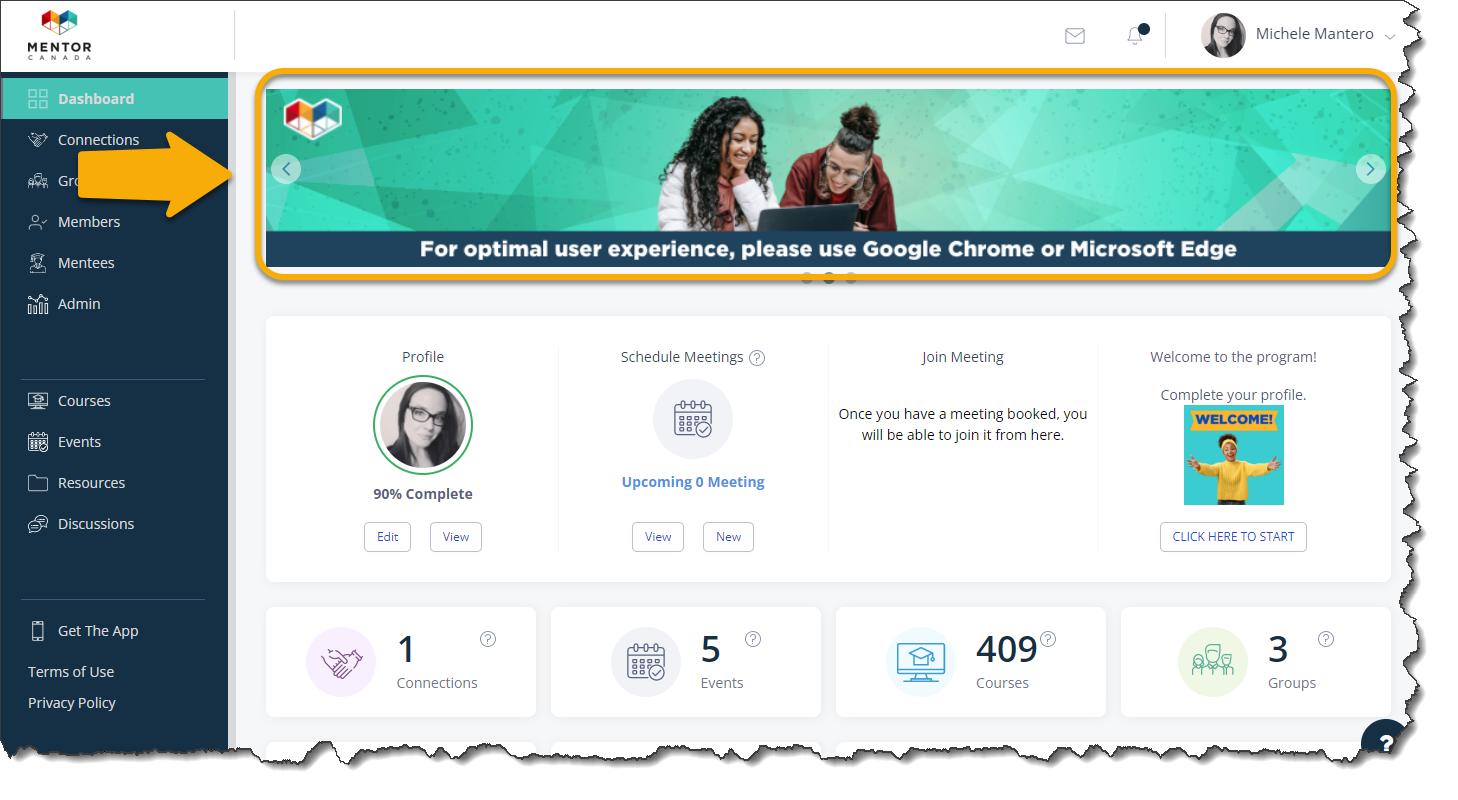
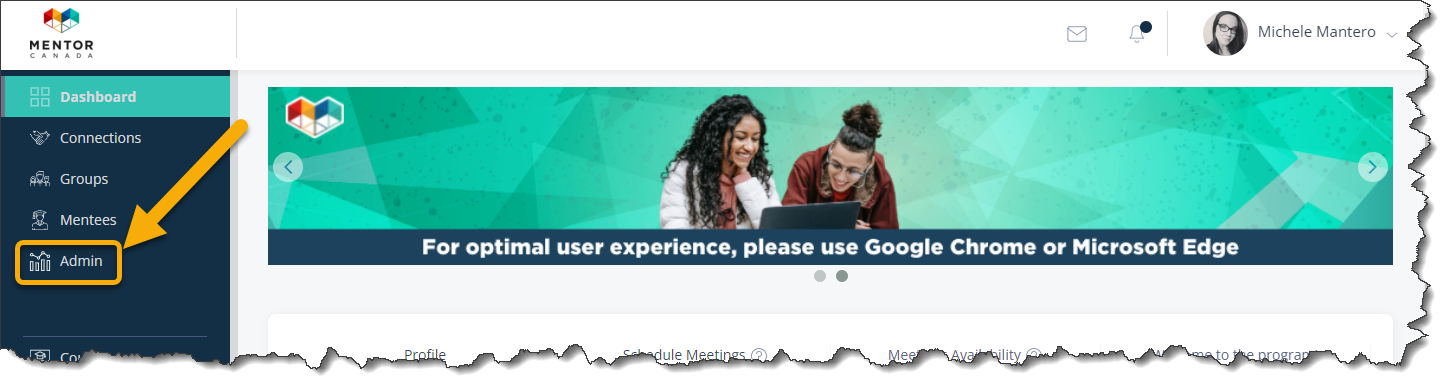
1.0 Access the administrator dashboard by clicking the "Admin" tab on the left-hand side of the page.
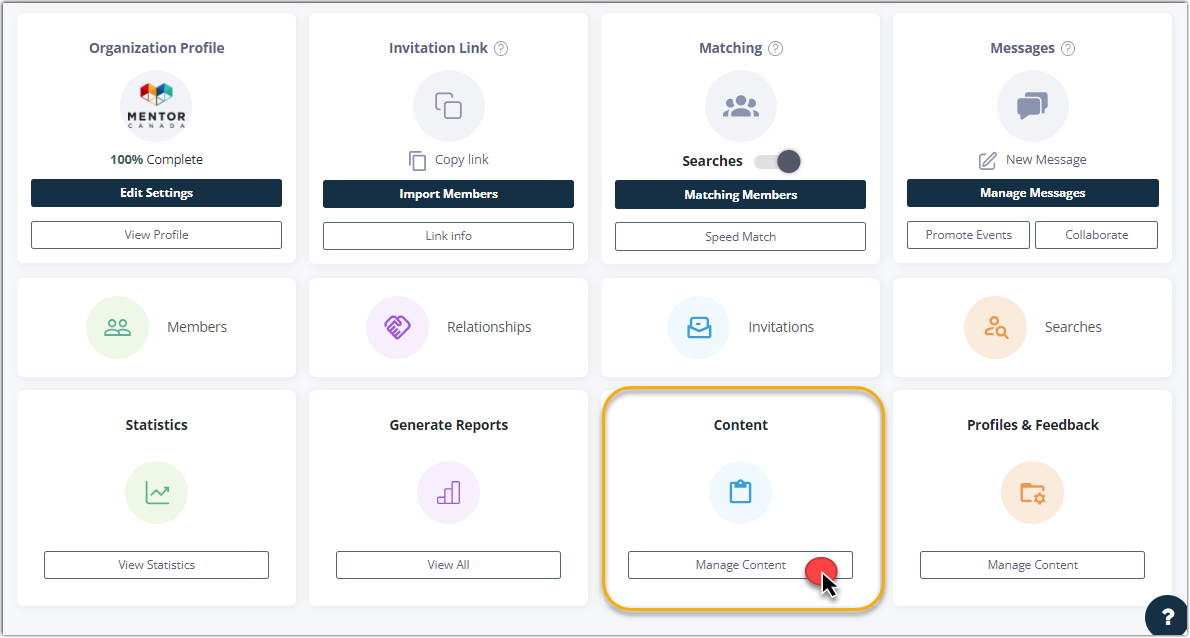
1.1 From the administrator dashboard, navigate to the "Content" tile located on the third row, and click on "Manage Content" to access the corresponding section.
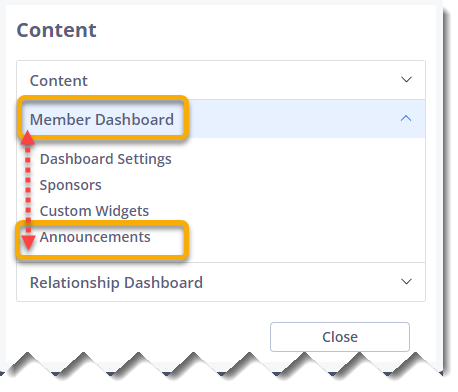
1.1.1 A new dialog box will appear. Expand the selections by clicking on "Member Dashboard" and subsequently choose "Announcements."
1.2 Click Create an Announcement
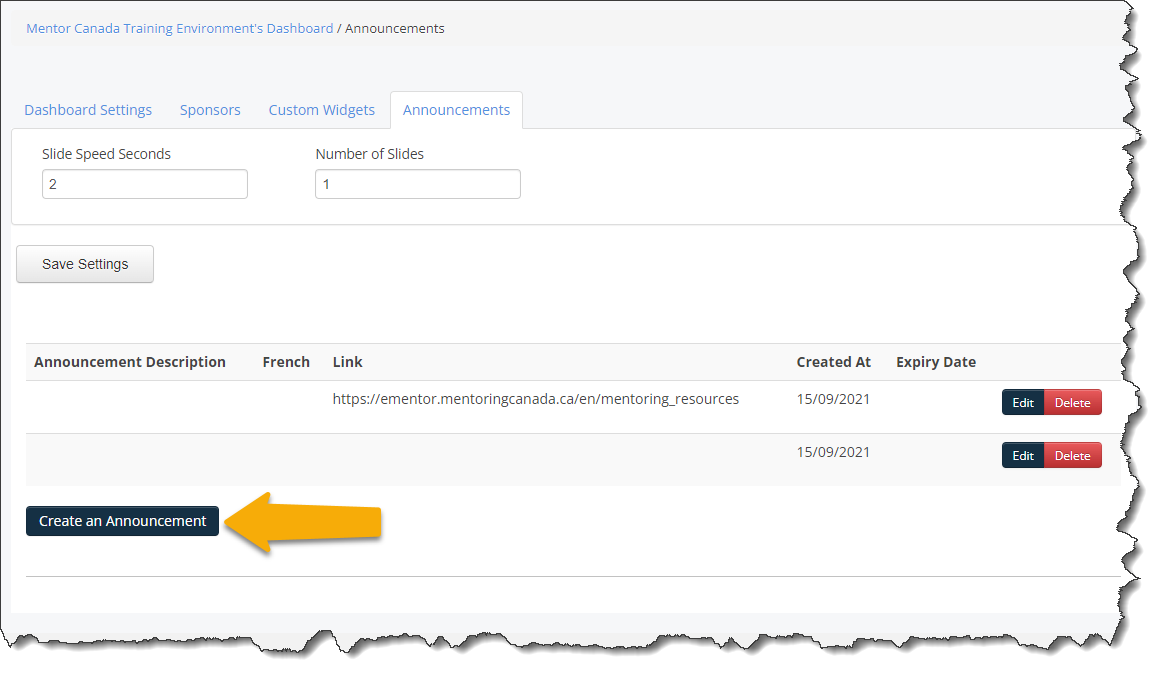
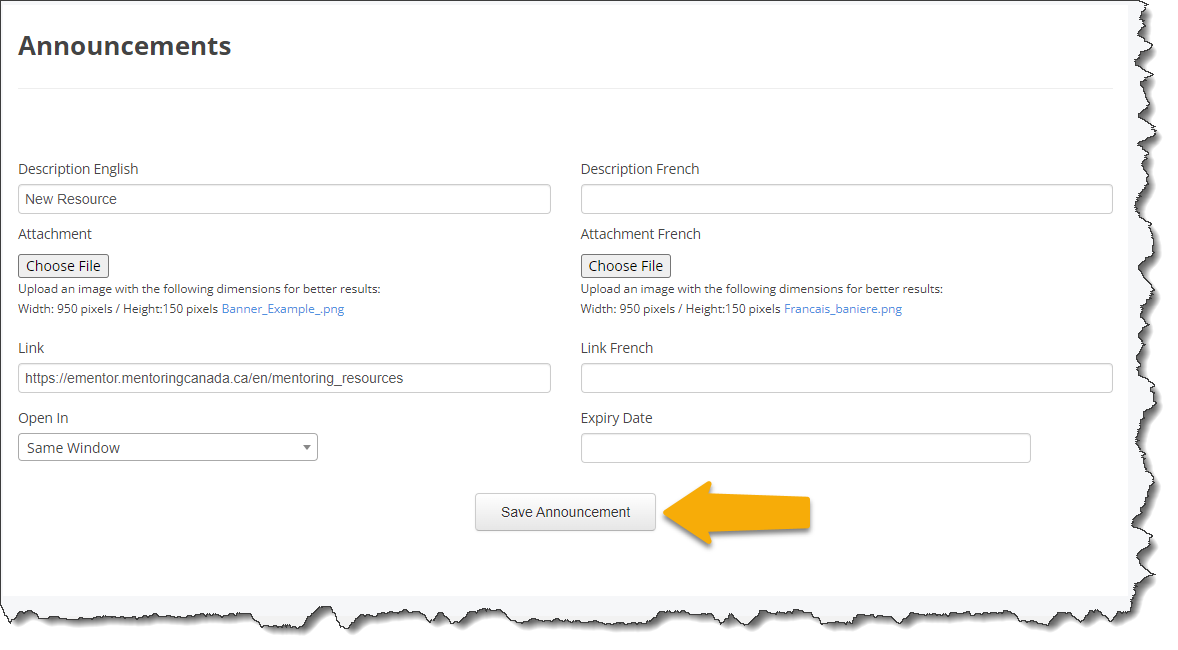
1.3 Complete the following fields:
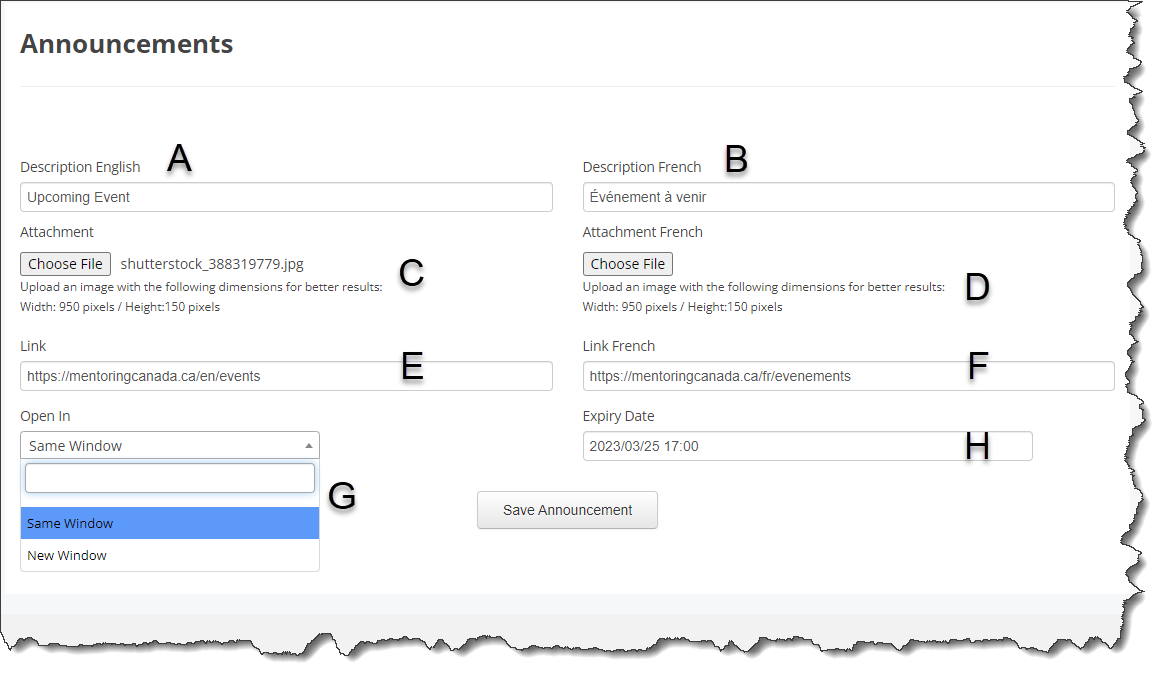
A) Add an English event description.
B) Optional: Add a French event description.
C) Optional: Attached an image to your announcement.
D) Optional: Attached a different image to go along the french announcement.
E) Optional: Add a URL which will make the announcement. clickable and will re-direct your users to another website.
F) Optional: Add a French URL to go along with the french announcement.
G) Indicate if the URL should open in a new window or same window.
H) Optional: Add an expiry date to the announcement.
Note: The expiry date allow you to enter a date upon which an announcement will no longer be visible on the Member Dashboard. For example, this can be used for announcements regarding an event being organized by the program. An expiry date for the announcement that corresponds with the end date for the event can now be set from the Announcement’s page in the ‘Expiry Date’ field.
1.4 Click Save Announcement

Multiple Announcements
If you create multiple announcements, they will be displayed as a carousel on the members dashboard. It is possible to adjust the display duration for each announcement as well as whether they will appear individually or together.
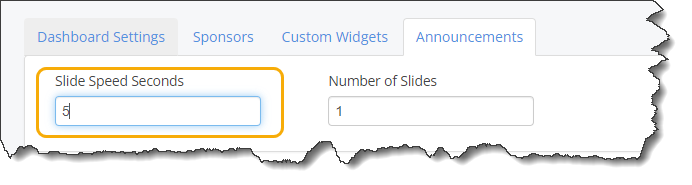
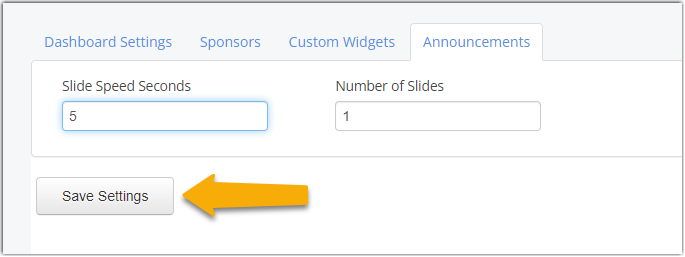
Slide Speeds Seconds
1.5 By adjusting the numbers on the ‘Slide Speed Seconds’ field, administrators can set the number of seconds for which each announcement is displayed which gives you more control on the length of time for the carousel.
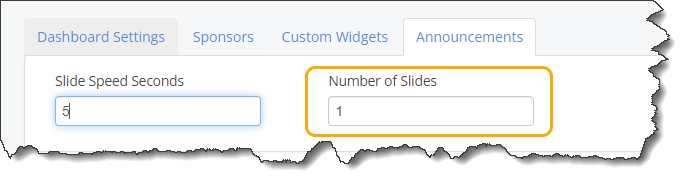
Number of Slides
1.6 When a program has many announcements to share and would like to condense the number of slides displayed, it is possible to display two announcements on a single slide by adjusting the numbers on the ‘Number of Slides’ field.
1.7 Click Save Settings.
Edit/Delete an Existing Announcement
2.0 From the administrator dashboard, navigate to the "Content" tile located on the third row, and click on "Manage Content" to access the corresponding section.
2.1 A new dialog box will appear. Expand the selections by clicking on "Member Dashboard" and subsequently choose "Announcements."
2.2 From the announcements list, locate the announcement and click Edit or Delete.
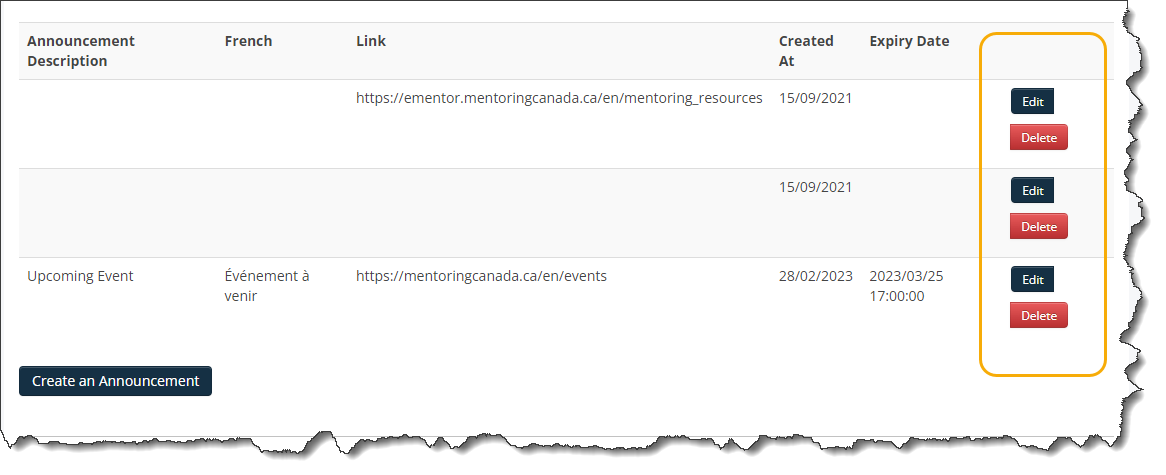
2.3 If you are editing the announcement, make your changes and click Save Announcement.
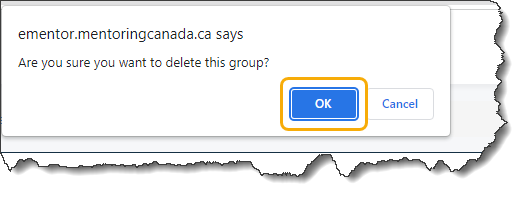
2.4 If you are deleting the announcement, you will be prompt to confirm the deletion. Click OK.
If you have questions or need further support, please contact our Support Team: support@mentoringcanada.ca