Onboard Mentors & Mentees
Context
In this article, we will explore two primary methods to invite mentors and mentees to join the platform seamlessly:
1. Invitation Link:
- Send an invitation link to mentors and mentees, allowing them to self-register.
- This method empowers individuals to initiate their onboarding process independently.
- Mentors and mentees can follow the link to access the platform and create their user profiles.
2. Mass Import:
- Utilize the Mass Import feature to import an email list and automatically create user profiles.
- This process generates user credentials and triggers an email communication to mentors and mentees.
- Mentors and mentees receive their login details, enabling them to access the platform promptly.
By understanding the nuances of each method, you can determine the most suitable approach for inviting mentors and mentees to join your virtual mentoring program.
Send an invitation link
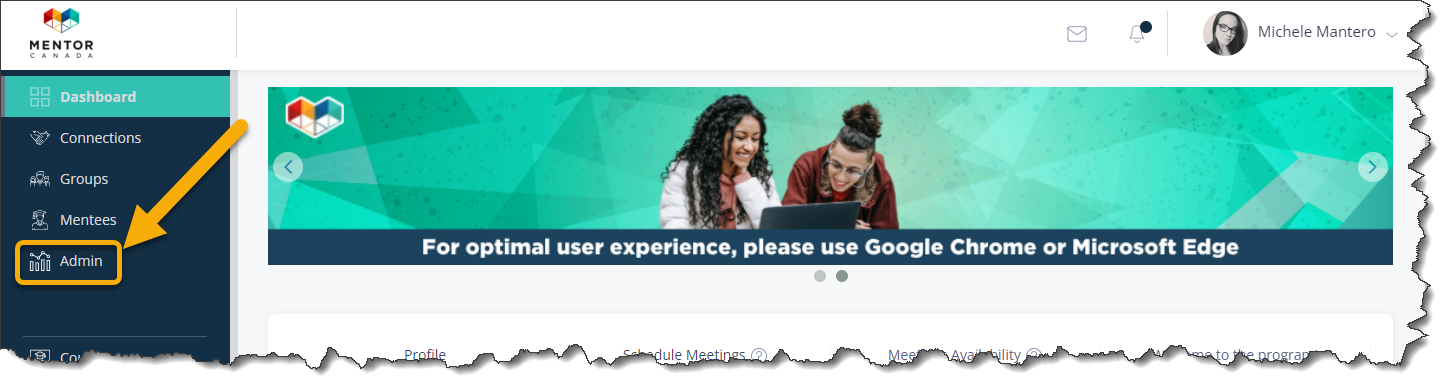
1.0 Access your administrator dashboard by clicking the "Admin" tab on the left-hand side.
1.1 From the administrator dashboard, navigate to the "Invitation Link" tile located on the first row, and click on "Copy Link".

1.2 Using you preferred mailing system, craft a personalized invitation email that extends an invitation to the mentors and mentees you intend to invite onto the platform. Within the email, include the generated link and ensure that it is properly pasted for easy access.
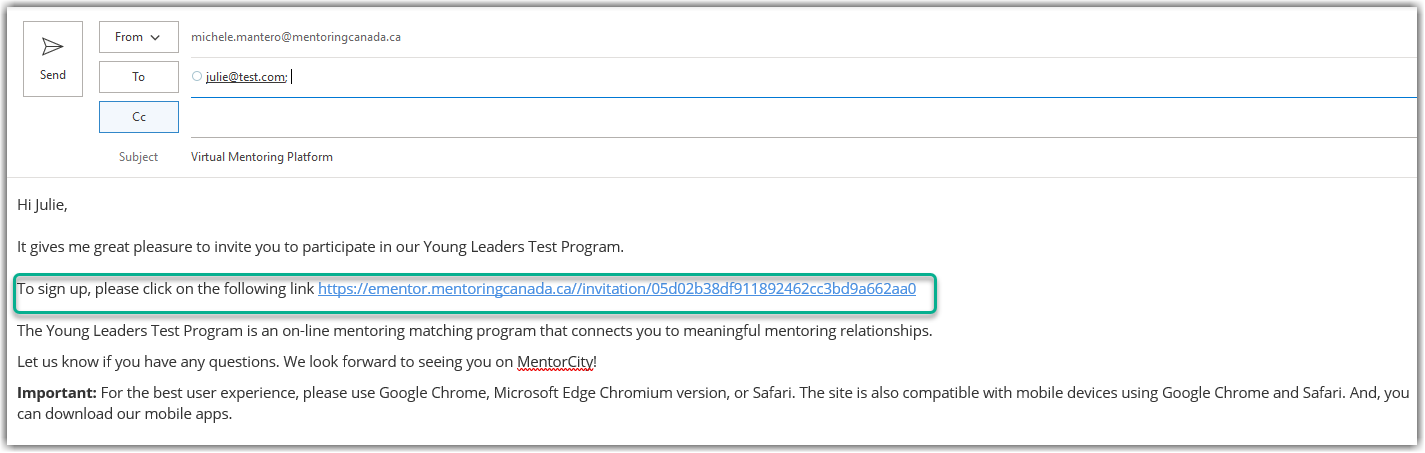
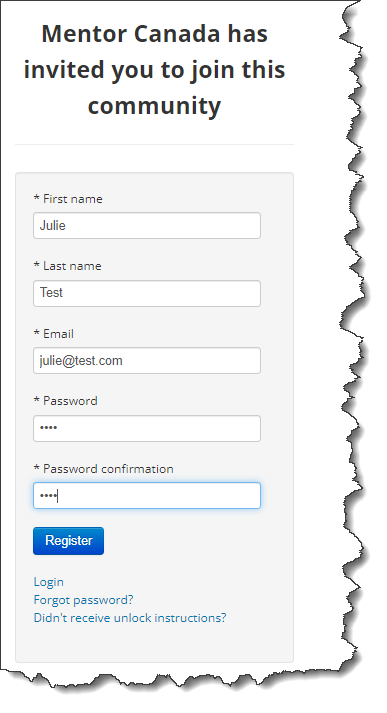
1.3 Once mentors and mentees click the link, they will be invited to create their account.
Follow Up on Invitations Sent
To find out who has responded to your invitation, follow these steps:
1.0 Access your administrator dashboard by clicking the "Admin" tab on the left-hand side.

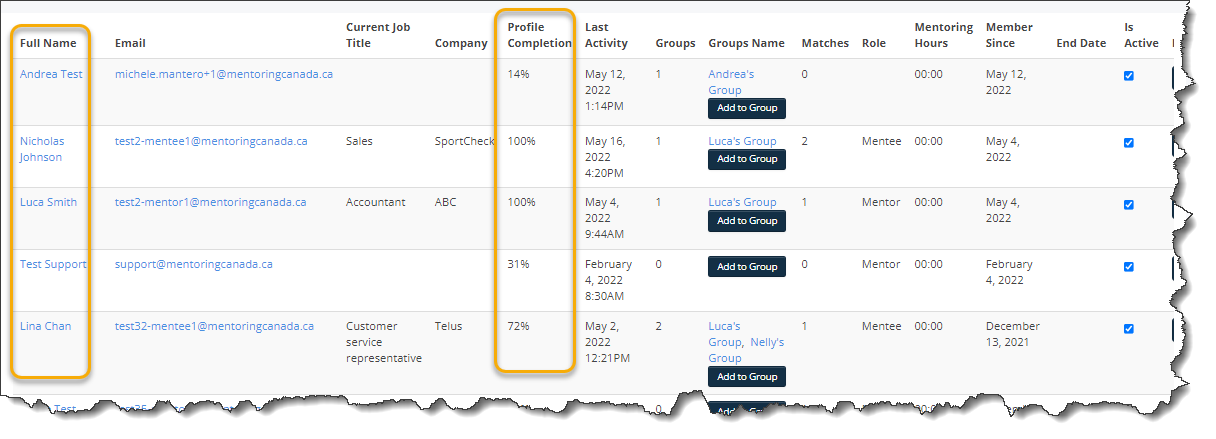
1.1 Click on the "Members" tile located on the second row of the administrator dashboard.
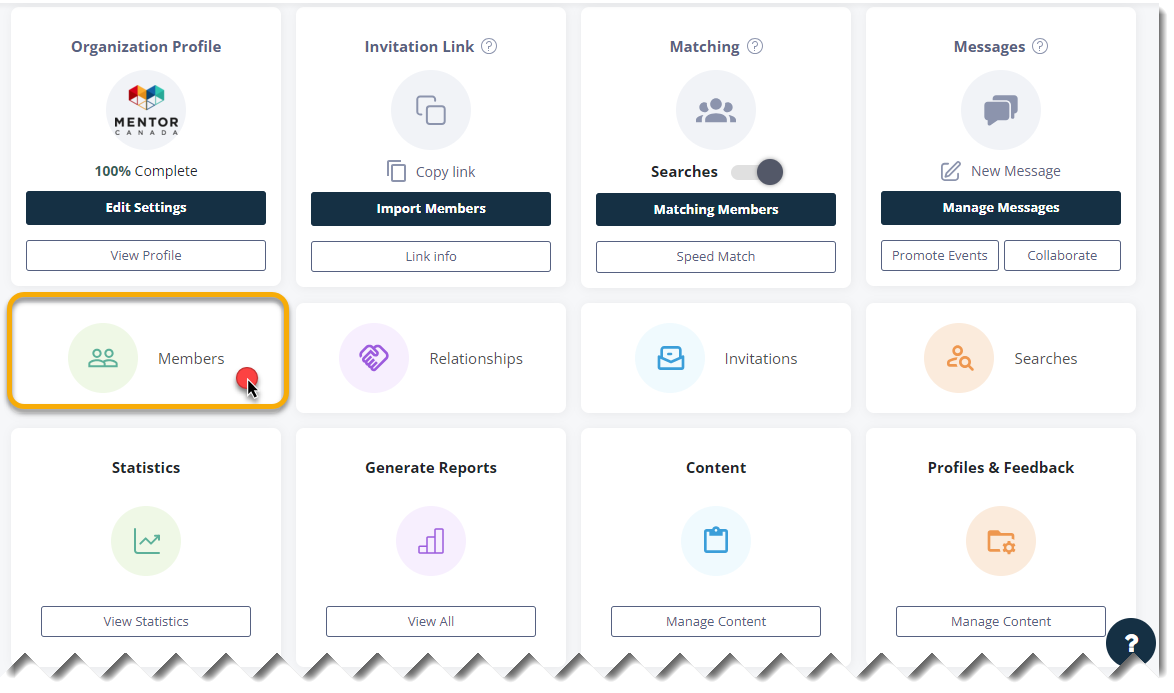
1.2 You will see a list of your current users and their profile completion percentage.
1.3 Another way to find out who has registered, is by issuing a report.
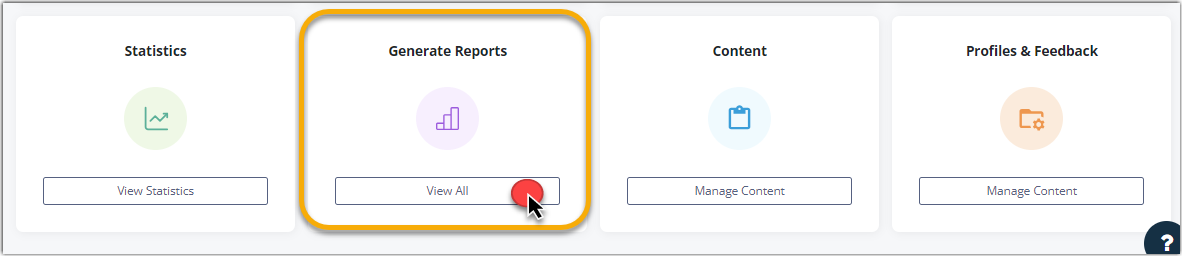
1.3.1 From the administrator dashboard, navigate to the "Generate Reports" tile located on the third row, and click on "View All" to access the corresponding section.
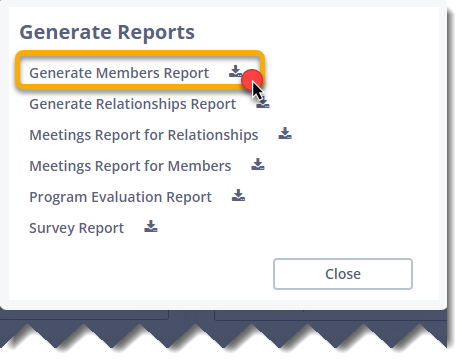
1.3.2 A new dialog box will appear. Click on "Generate Members Report".
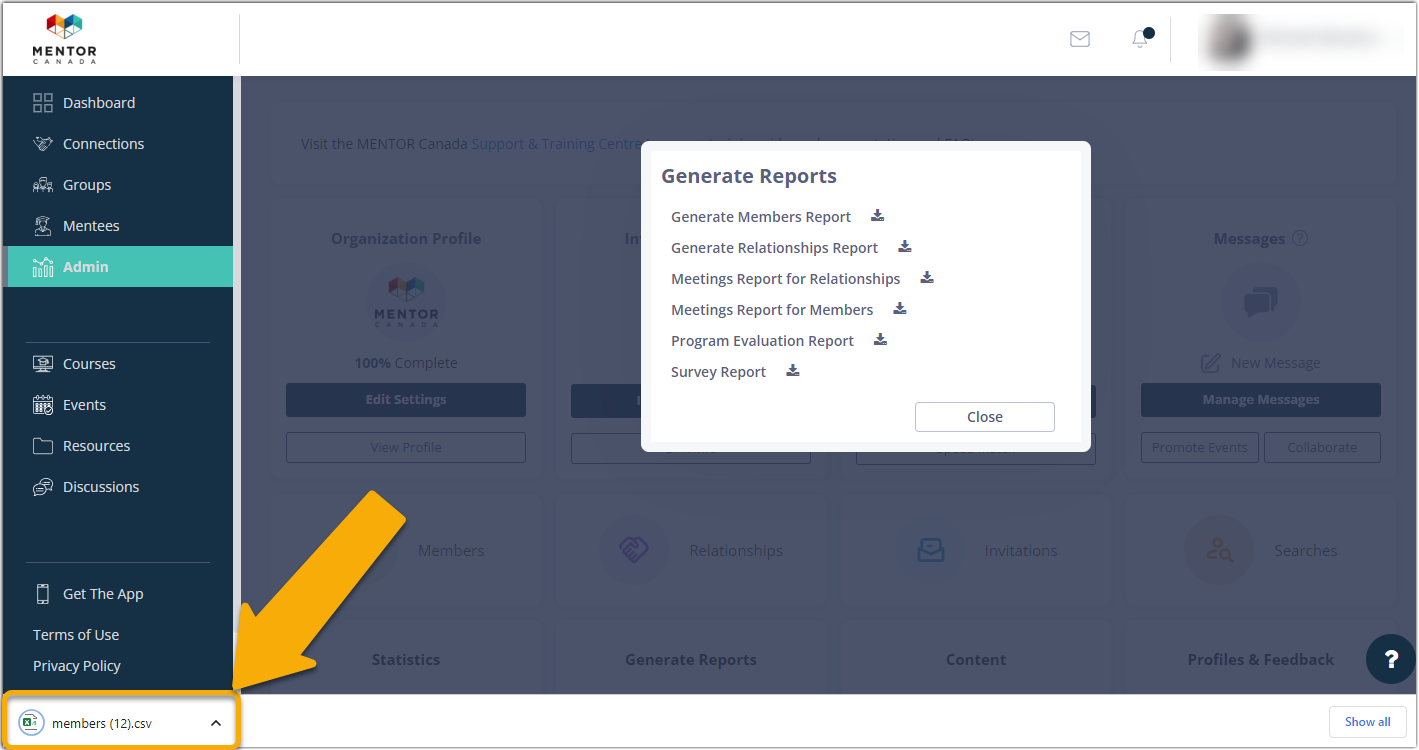
1.3.3 Once the process is complete, the system automatically generates a report in CSV format. You'll find this report in the download section of your browser, although its location may vary depending on the type and version of your browser. To access the data contained in the report, simply click on the document to open it.
Mass Import
Prior to utilizing the import feature, program administrators must gather the necessary information about the mentors and mentees they wish to invite and incorporate it into the import template. This entails collecting and organizing essential details for each user's profile, such as First Name, Last Name, City, Province, Specialized Skills, and other relevant information.
1.0 Access your administrator dashboard by clicking the "Admin" tab on the left-hand side.

1.1 From the administrator dashboard, navigate to the "Invitation Link" tile located on the first row, and click on "Import Members" to access the corresponding section.

1.2 Download either the Simple Import Sample or the Full Import Sample.
| Simple Import | Full Import |
|
It will create the user and populate information in the following profile fields:
|
It will create the user and allows you to populate information in any of the desired profile fields, including custom fields. |
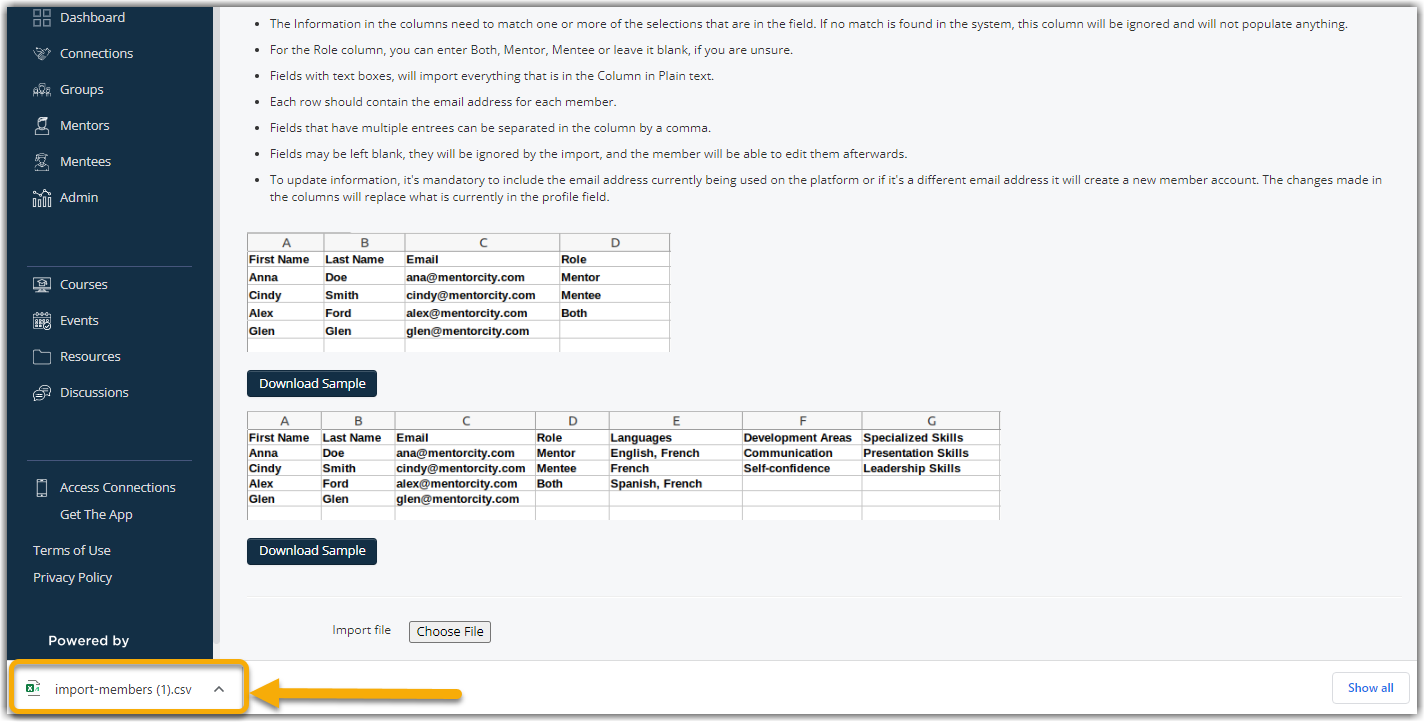
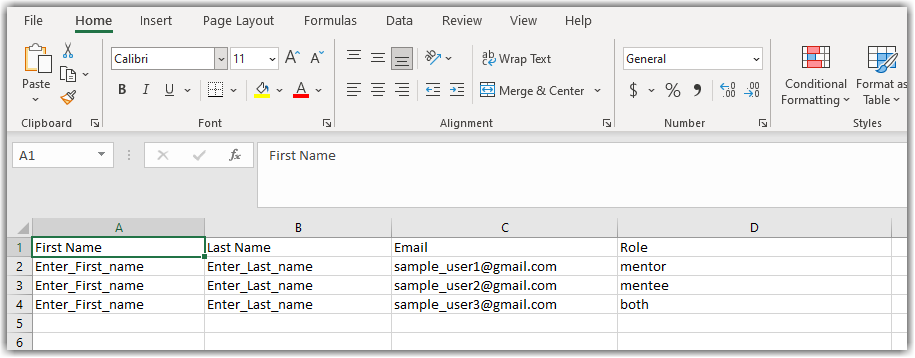
1.3 A CSV file will appear at the bottom of the screen, click it to open and fill it with information collected from mentors and mentees.
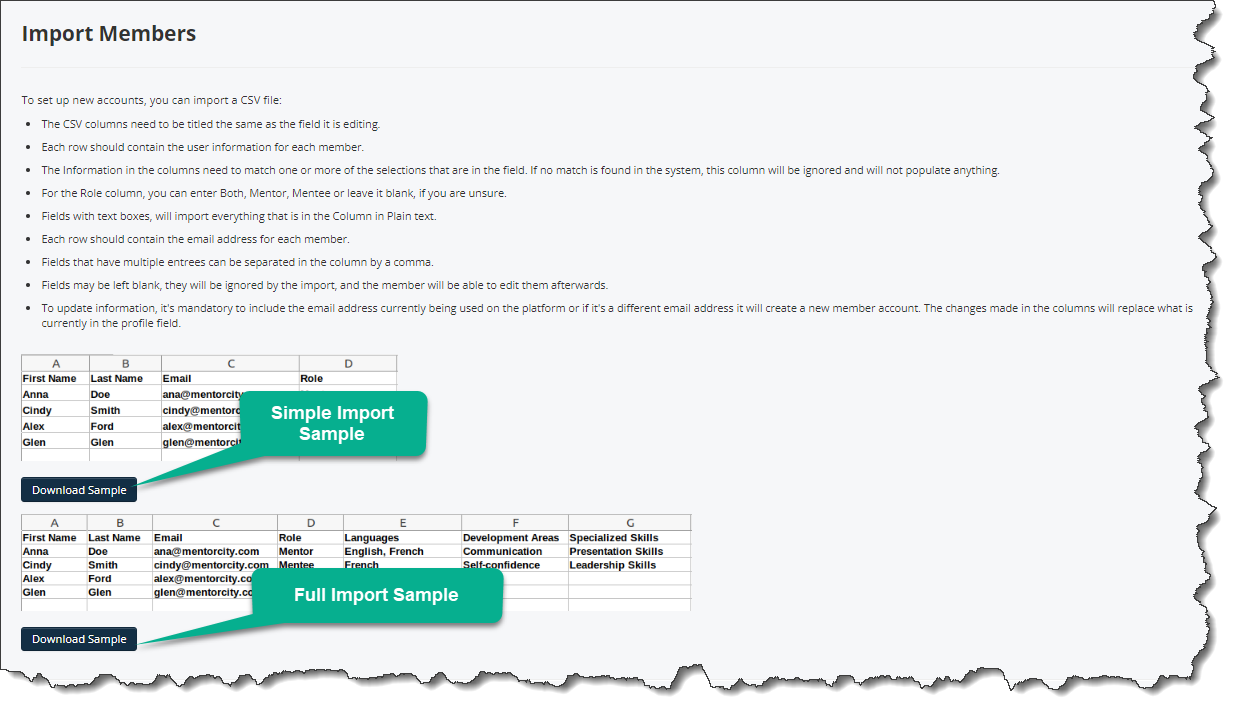
Important Guidelines for the CSV files (Samples):
- The CSV columns need to be titled the same as the field it is editing.
- Each row should contain the user information for each member.
- The Information in the columns need to match one or more of the selections that are in the field. If no match is found in the system, this column will be ignored and will not populate anything.
- For the Role column, you can enter Both, Mentor, Mentee or leave it blank, if you are unsure.
- Fields with text boxes, will import everything that is in the Column in Plain text.
- Each row should contain the email address for each member.
- Fields that have multiple entries can be separated in the column by a comma.
- Fields may be left blank, they will be ignored by the import, and the member will be able to edit them afterwards.
1.4 Once the document is complete, save it on your computer or the Cloud.
1.5 From the "Import Members" section, click on Choose File at the bottom of the page.
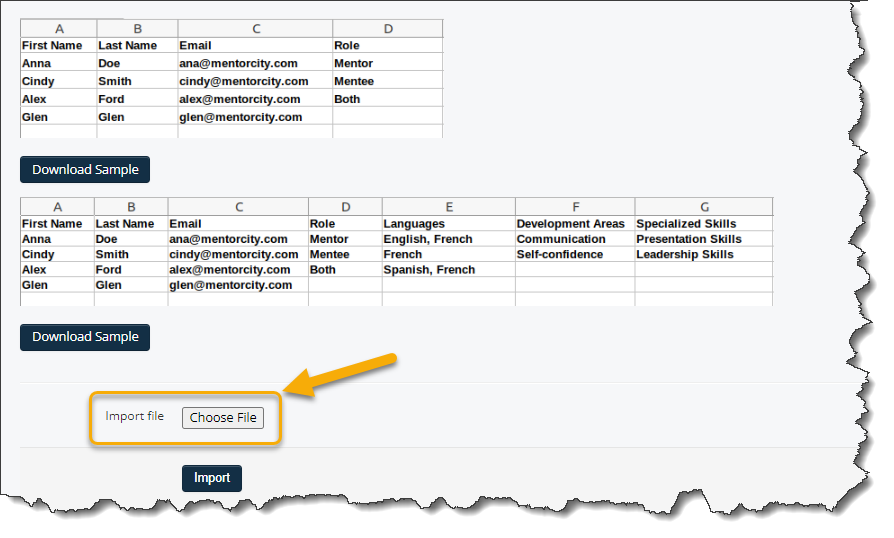
1.6 Find the CSV file that contains your user information and click Open.

1.7 Click Import at the bottom of the page to start the import.

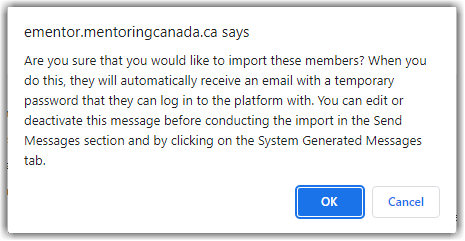
1.8 You will be asked to confirm that you want to proceed with the import. Click OK.
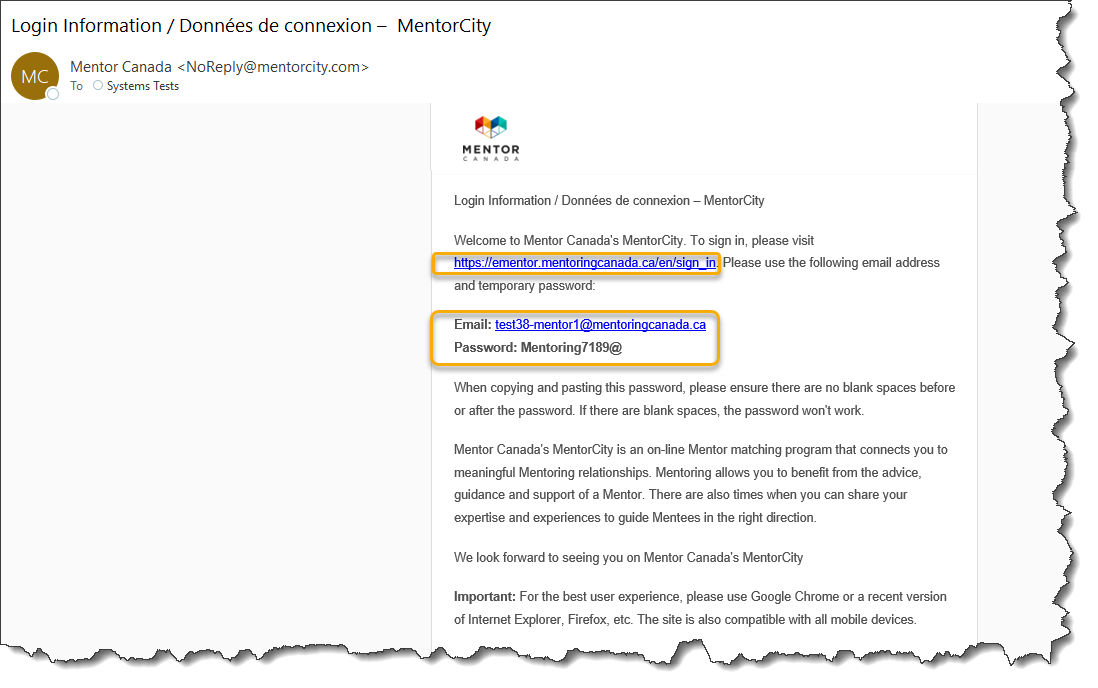
1.9 Once the import is complete, mentors and mentees' profiles are created, and an email is sent to each of them with their credentials and the link to access the platform.
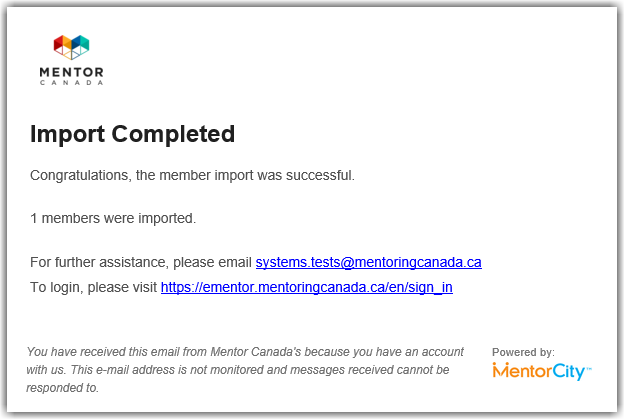
1.9.1 Program administrators will also receive a confirmation email.
1.9.2 You can view all the newly created users from the "Members" section on the administrator dashboard.
If you have questions or need further support, please contact our Support Team: support@mentoringcanada.ca