Customize the Mentor & Mentee Dashboard
Introduction to the Mentor & Mentee Dashboard
This article will introduce you to the key features and customization options available within the dashboard, allowing program administrators to optimize the mentoring experience for their program members.
1. Streamlined Access and Functionality:
The mentor & mentee dashboard serves as a convenient gateway to various platform functionalities. It offers mentors and mentees shortcuts to essential features, saving time and effort. From updating profiles to accessing resources and initiating communication, the dashboard streamlines operations for a seamless mentoring experience.
2. Program Announcements and Communication:
Program administrators have the ability to share important updates and announcements directly on the mentor & mentee dashboard. This feature ensures participants stay informed and engaged. Whether it's upcoming events, valuable resources, or program milestones, the dashboard fosters effective communication and community-building.
3. Customization for Program-specific Needs:
The mentor & mentee dashboard is fully customizable, empowering program administrators to tailor its layout and widgets to match their program's unique requirements.
4. Simplified Widget Functionality:
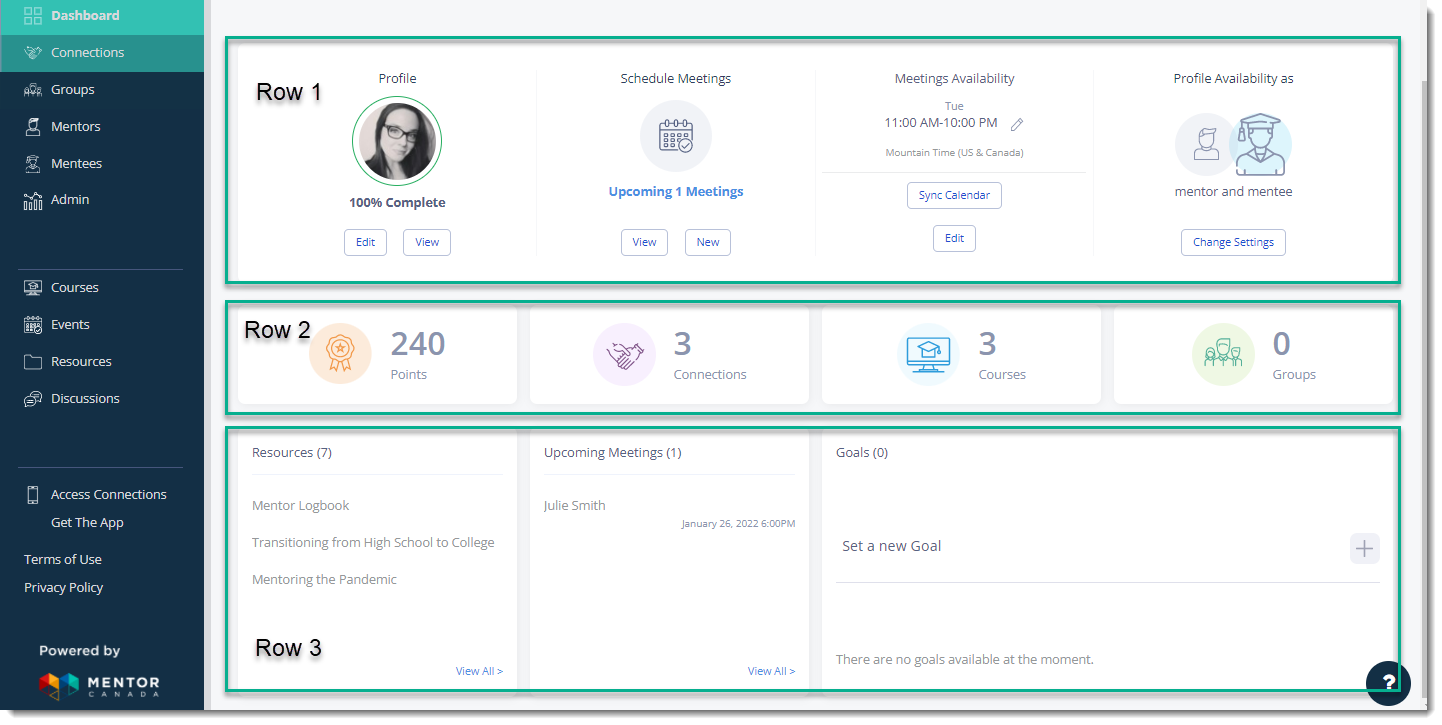
The dashboard is organized into three rows of widgets, providing concise functionality shortcuts. Widgets may include quick access to resources, events, scheduling meetings, progress tracking, and more. This simplified interface enables mentors and mentees to navigate the platform effortlessly.
Please note that it is not possible to interchange widgets between row numbers. However, it is possible to interchange widget positions within the same row.
Examples
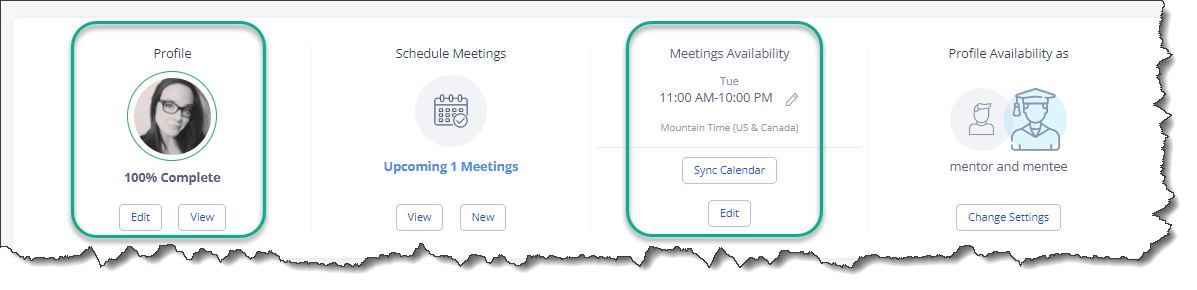
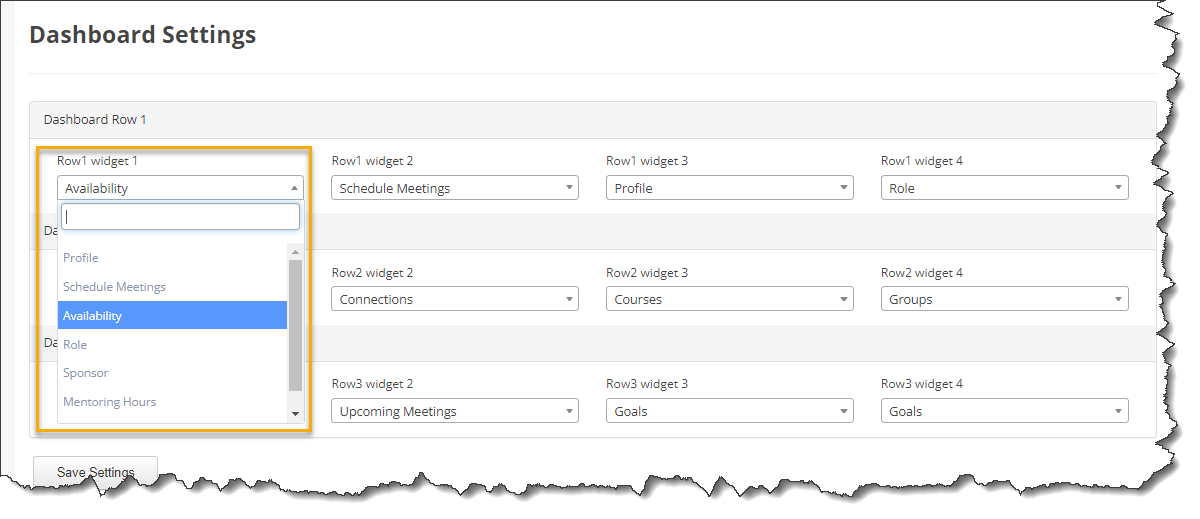
For instance, you can change the "Profile" widget with the "Meeting availability" widget in row 1.
Before
After
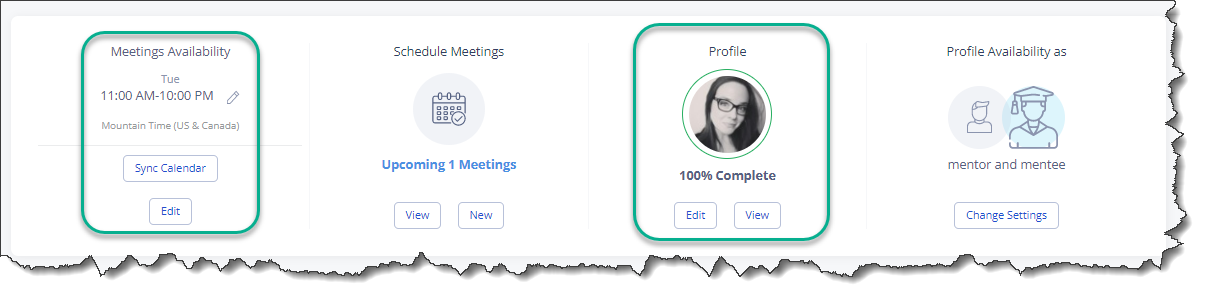
However, you would not be able to change the "Profile" widget with the "Connections" widget because they are located in different rows.

1 - Steps to Customize the Dashboard:
To customize the dashboard, follow these steps:
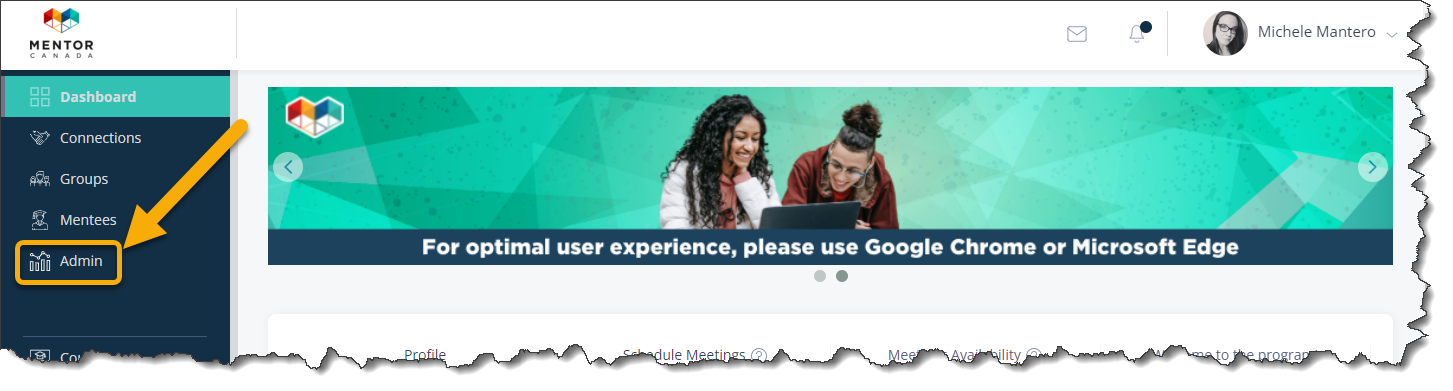
1.0 Access the administrator dashboard by clicking the "Admin" tab on the left-hand side of the page.

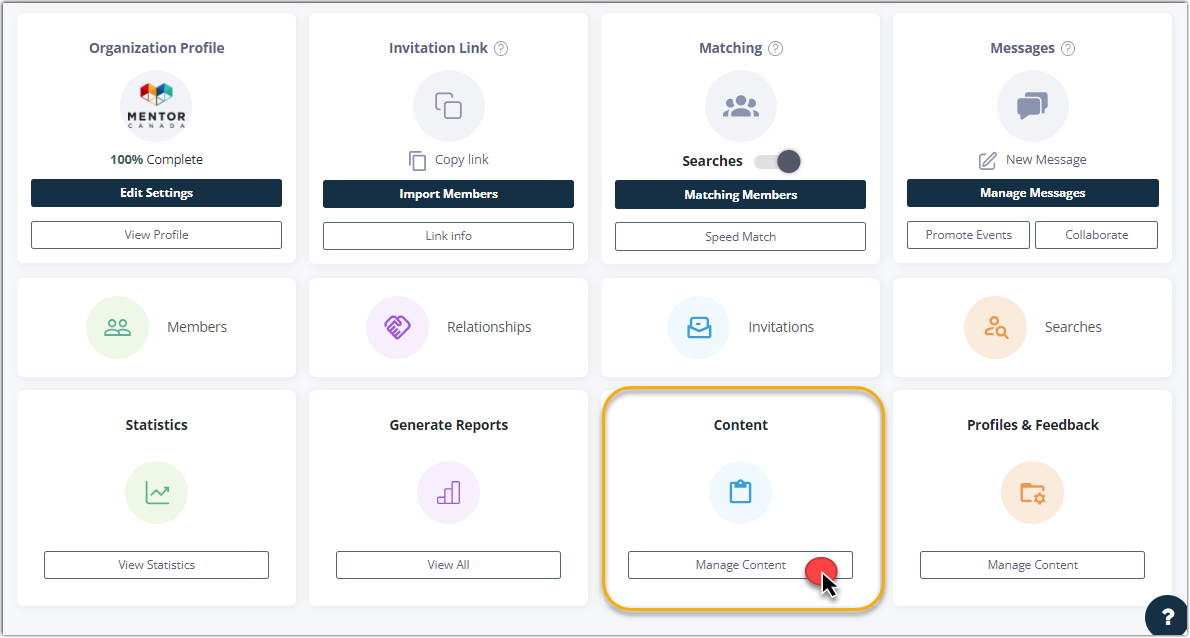
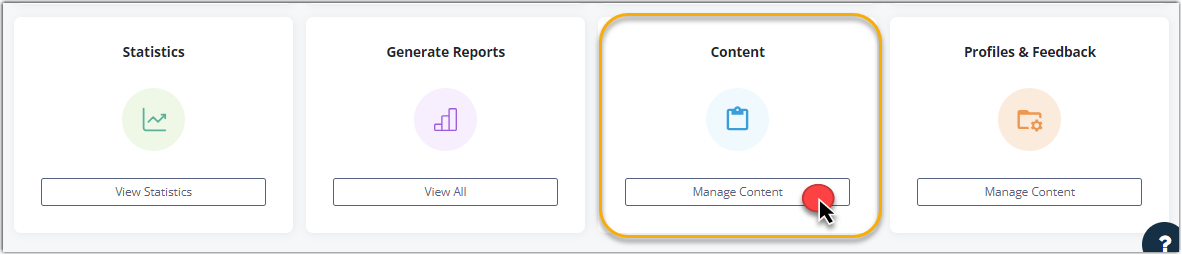
1.1 From the administrator dashboard, navigate to the "Content" tile located on the third row, and click on "Manage Content" to access the corresponding section.
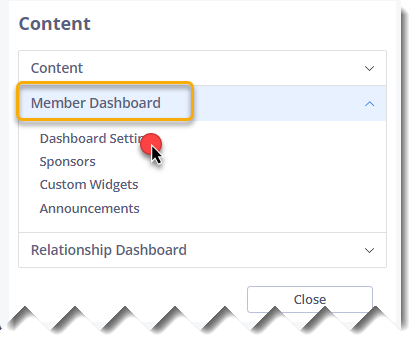
1.1.1 A new dialog box will appear. Expand the selections by clicking on "Member Dashboard" and subsequently choose "Dashboard Settings."

1.2 The following page will appear. For each row, select the position of the widgets.

1.2.1 Simply click the widget box to expand the options and click the desired options for each widget number.
1.3 Click Save Settings to save your changes. This can be updated at any time.
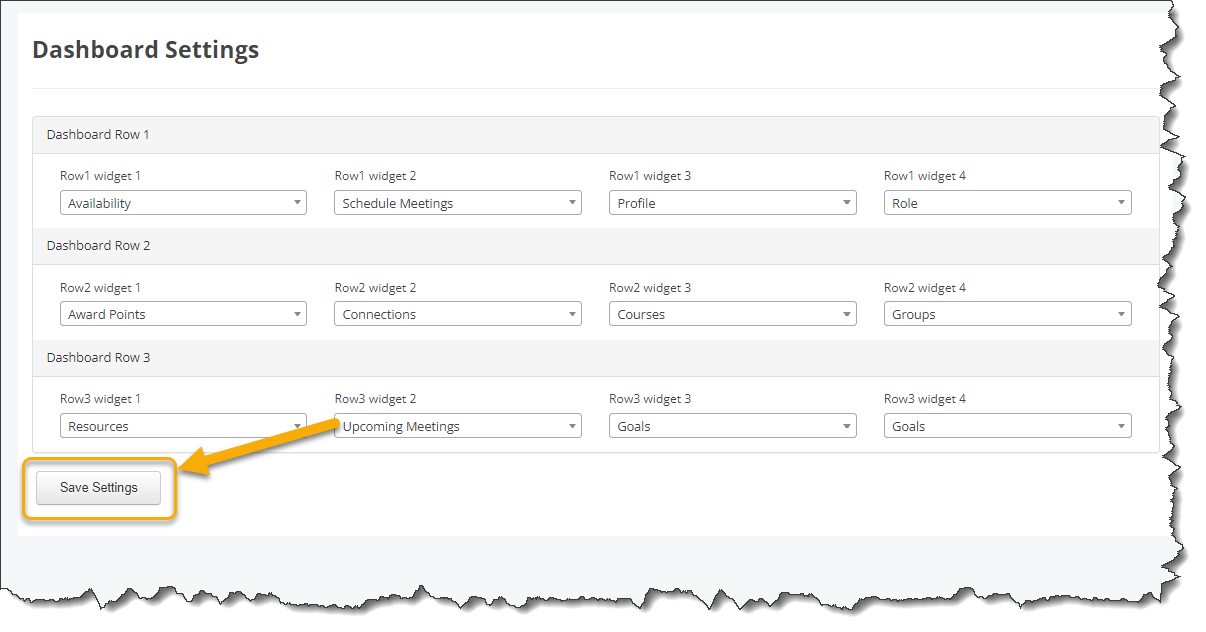
Please note that Goals are automatically taking 2 widget spaces. Therefore, if you had Goals to Row 3, you can only have 3 widgets displayed.
Add a Sponsor to the Dashboard
The dashboard also allows program administrators to showcase their program sponsors and a logo hyperlink taking the user to the sponsor's website.
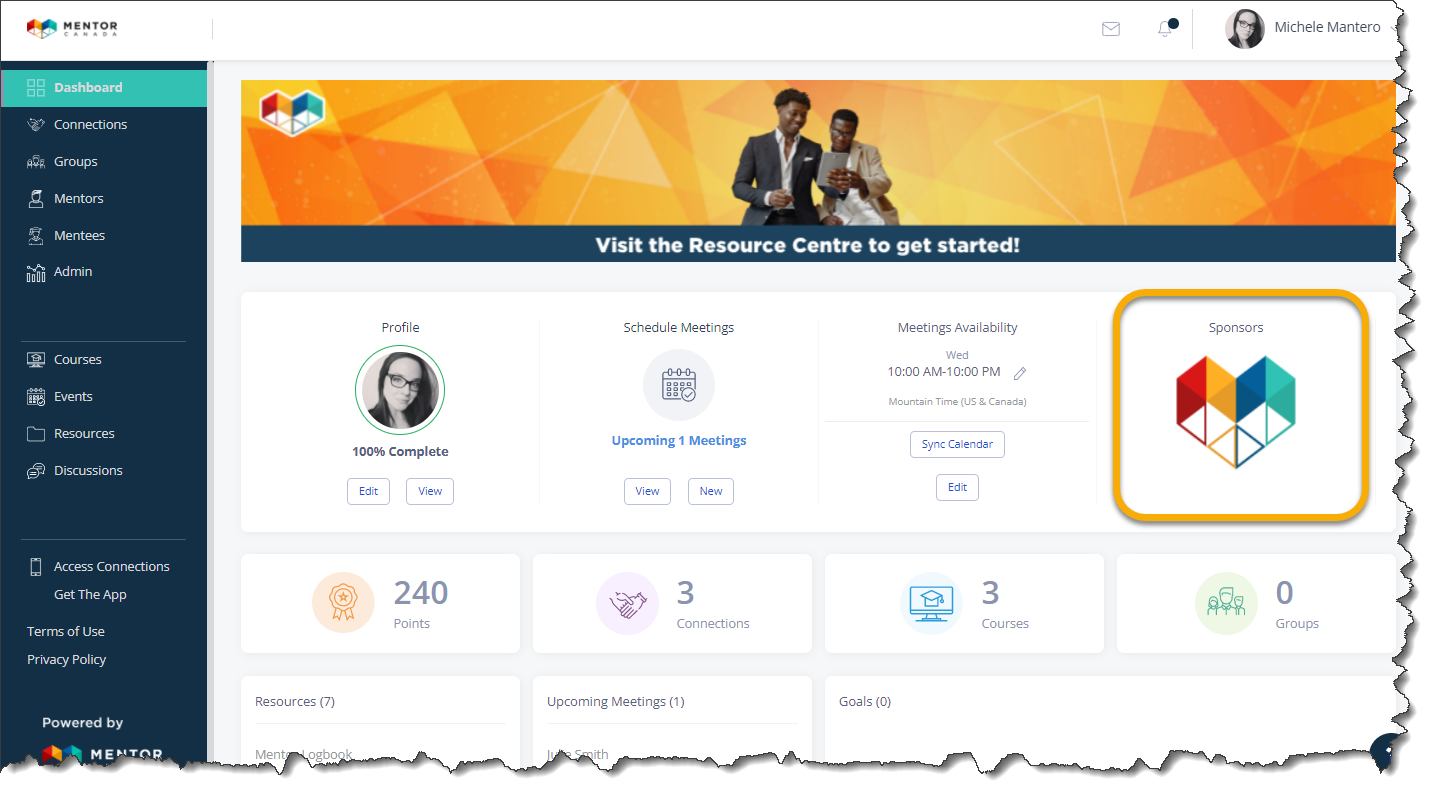
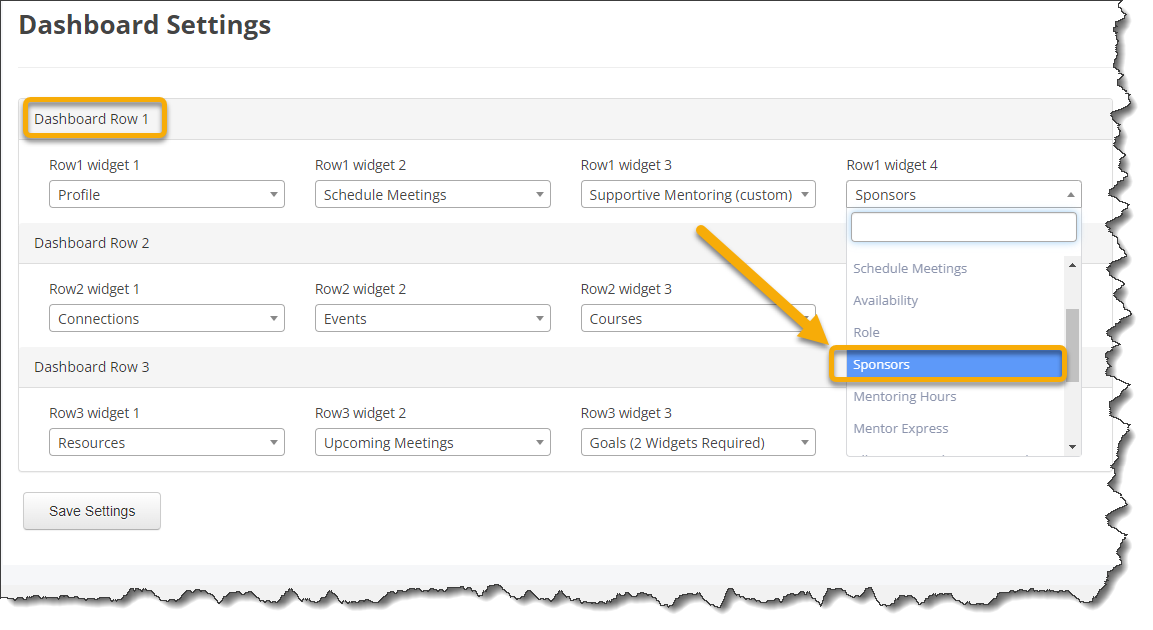
The sponsor widget is only available to display on row 1 of the dashboard.
Before a sponsor can be added to the dashboard, it has to be created on the virtual mentoring platform. If the sponsor is not created first, the dashboard will display a blank widget.

2 - Steps to add sponsor(s) to the dashboard:
2.0 Access the administrator dashboard by clicking the "Admin" tab on the left-hand side of the page.
2.1 From the administrator dashboard, navigate to the "Content" tile located on the third row, and click on "Manage Content" to access the corresponding section.
2.1.1 A new dialog box will appear. Expand the selections by clicking on "Member Dashboard" and subsequently choose "Dashboard Settings."
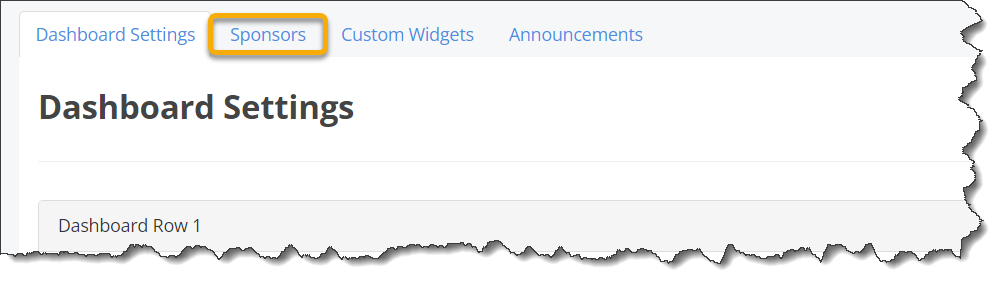
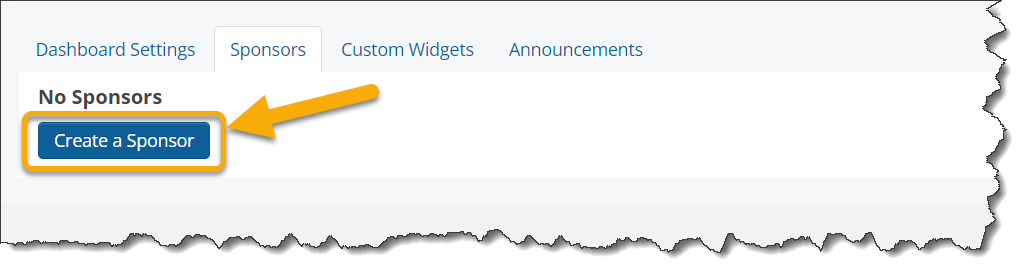
2.2 Click the "Sponsors" tab.
2.3 Click Create A Sponsor
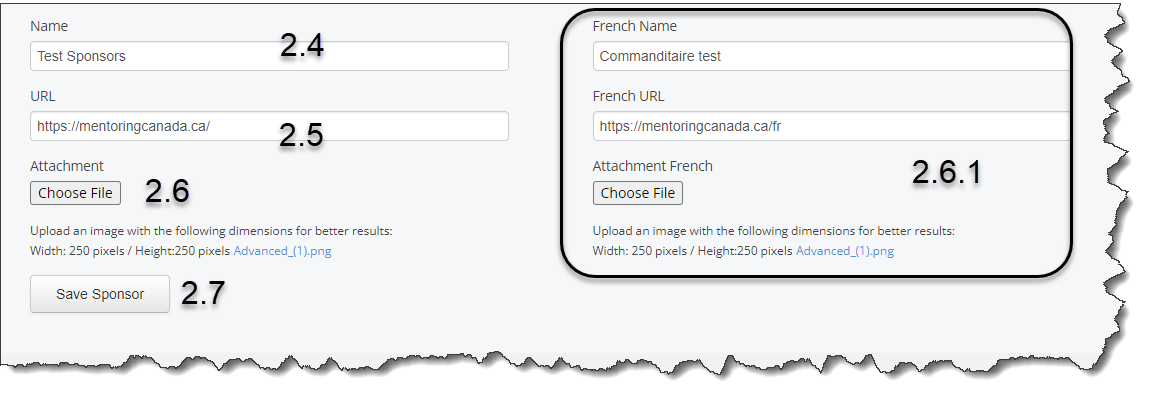
2.4 Add the sponsor name in the "Name" field
2.5 Add a Url (website) in the "URL" field linking the logo to the sponsor's website
2.6 Click Choose File to upload the sponsor's logo
2.6.1 You can repeat these steps in the french fields if your program is bilingual.
2.7 Click Save Sponsor
It is possible to create multiple sponsors (figure 1) using only one widget from row 1 of the dashboard. If you have two sponsors on the dashboard, the different sponsors will move as a carousel (figure 2).
Figure 1

Figure 2
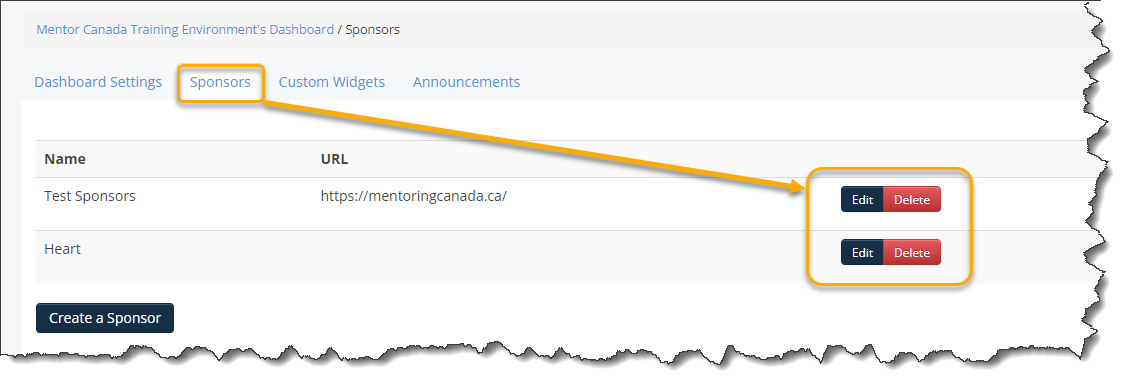
2.8 Once the sponsor (s) are created, it appears under the "Sponsors" tab and can be Edited or Deleted anytime.
2.9 The next step is to add the recently created sponsor(s) to the dashboard widget. Follow steps 1.0 to 1.3 of the above section.
Schedule a Meeting from the Dashboard
It is possible to schedule meetings directly from the dashboard as long as an administrator includes the "Schedule Meetings" widget on the members dashboard. The calendaring feature on the dashboard allow mentors and mentees to only see common availability.

The dashboard also display upcoming meetings if you include this option as a dashboard widget for your program members.
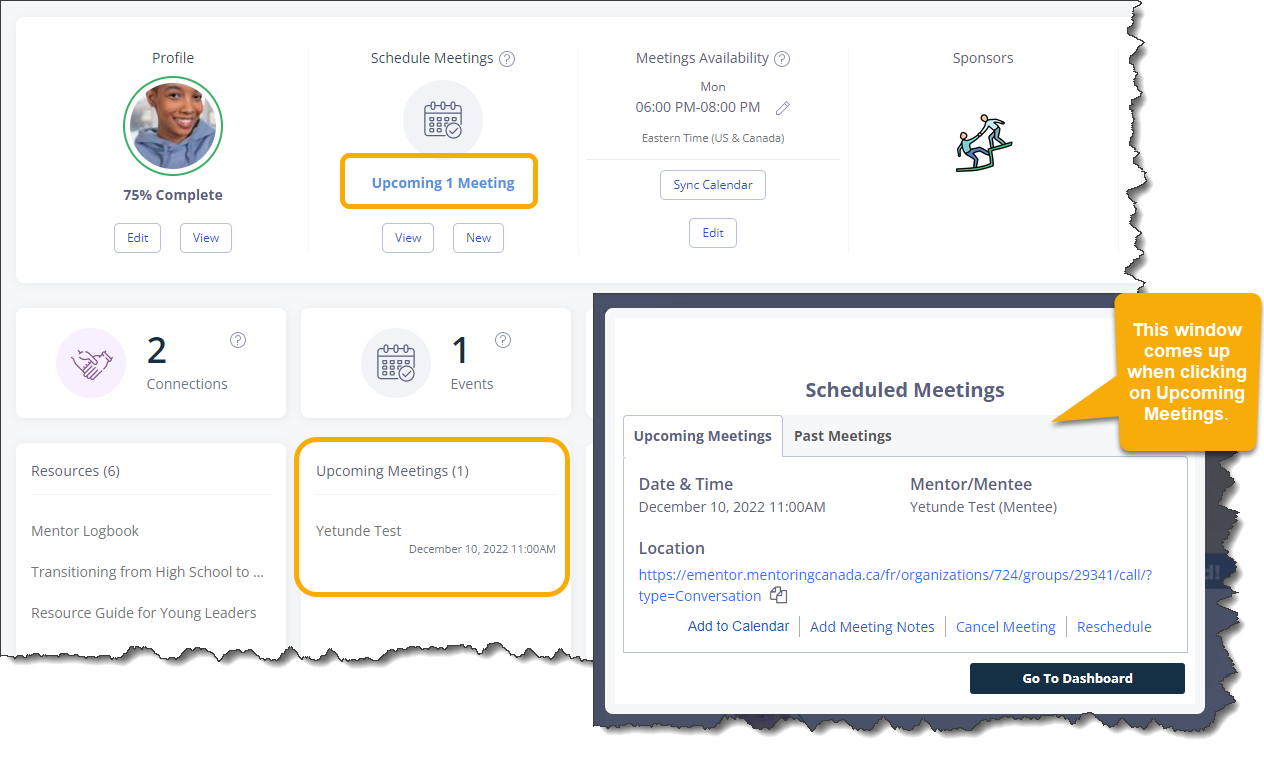
3 - Steps to schedule a meeting from the dashboard:
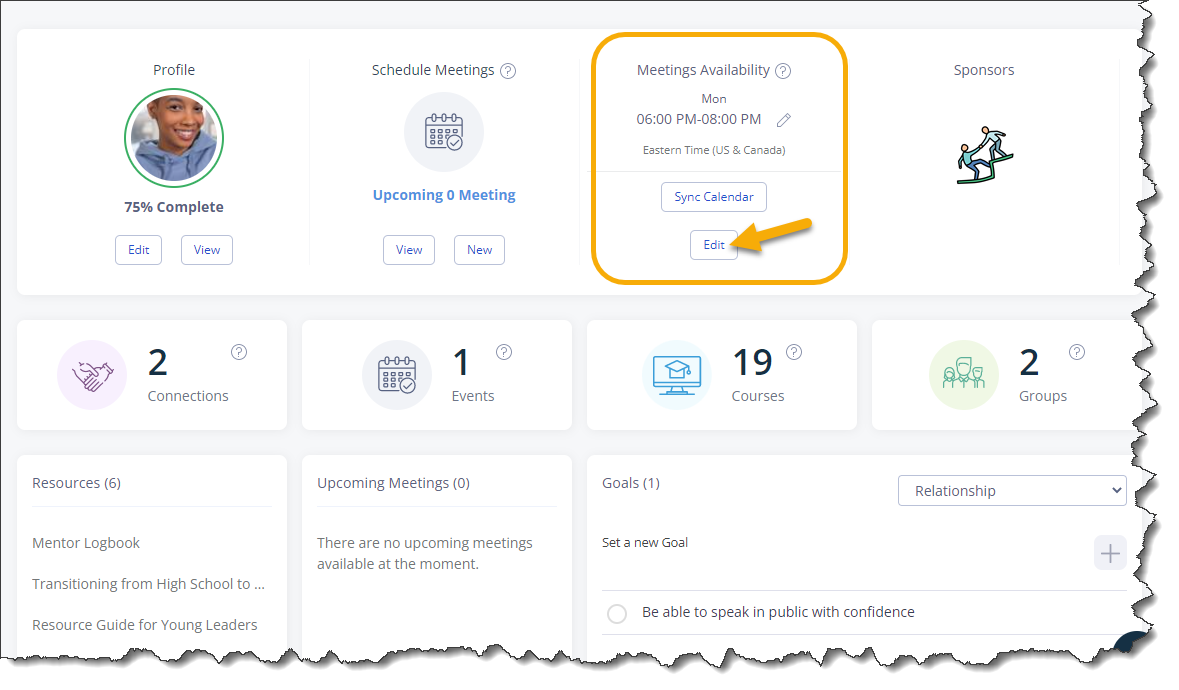
3.0 Each program member must first setup their availability in the virtual mentoring platform before scheduling a meeting. For quick setup, you need to provide mentors and mentees with the "Meetings Availability" widget on the dashboard. If you do not include this widget, your mentors/mentees will still be able to enter their availability from the "Connections" tab.
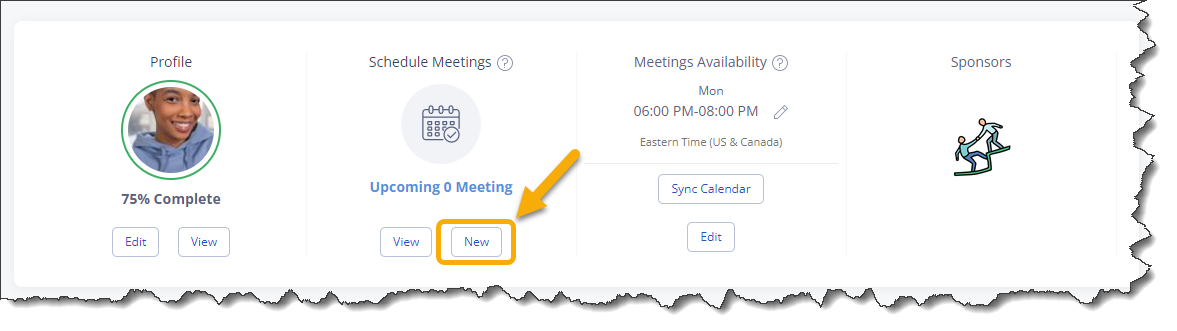
3.1 Next, they will need to click Edit or the pen icon from the "Meetings Availability" widget on the dashboard.
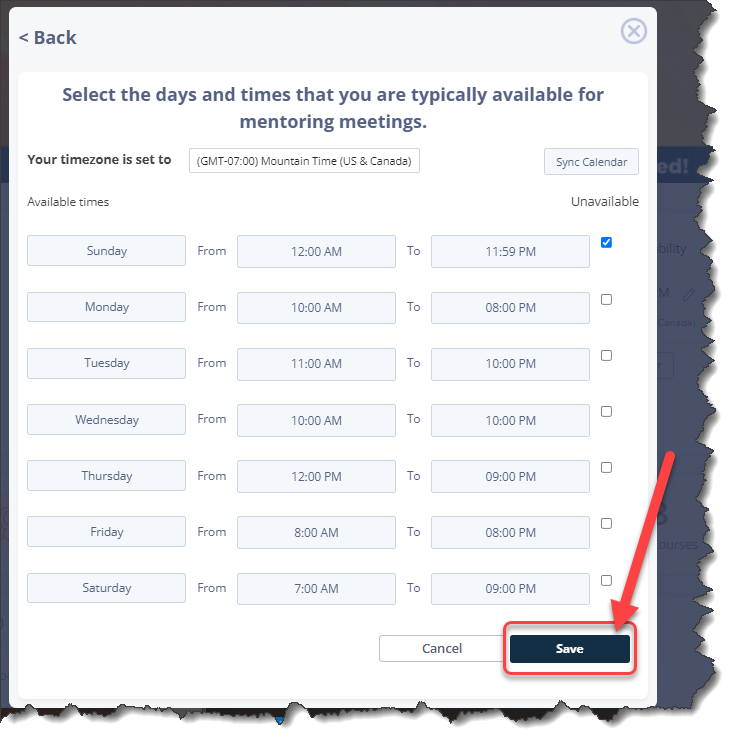
3.1.1 The mentor/mentee enters their availability for each day of the week or click Sync Calendar.
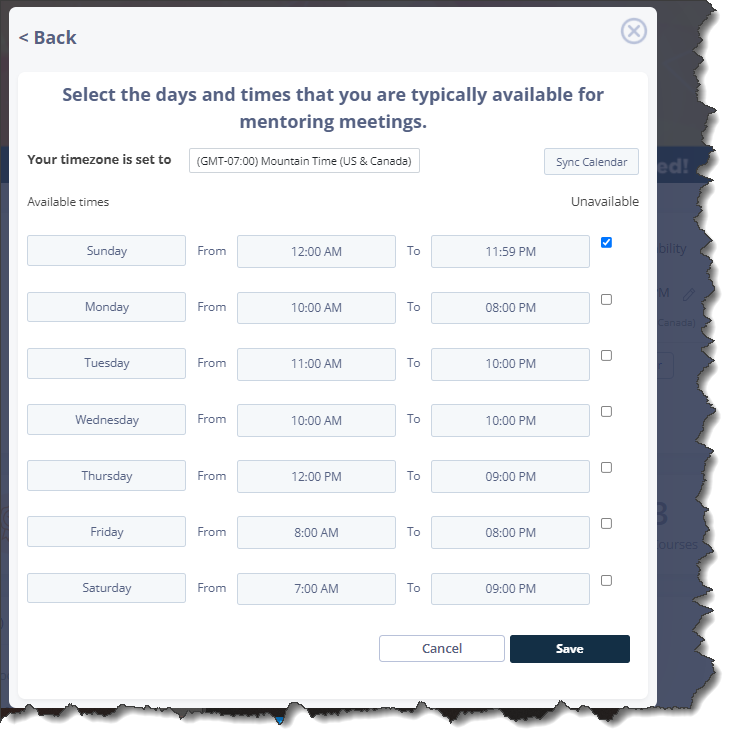
3.1.2 They will then click Save
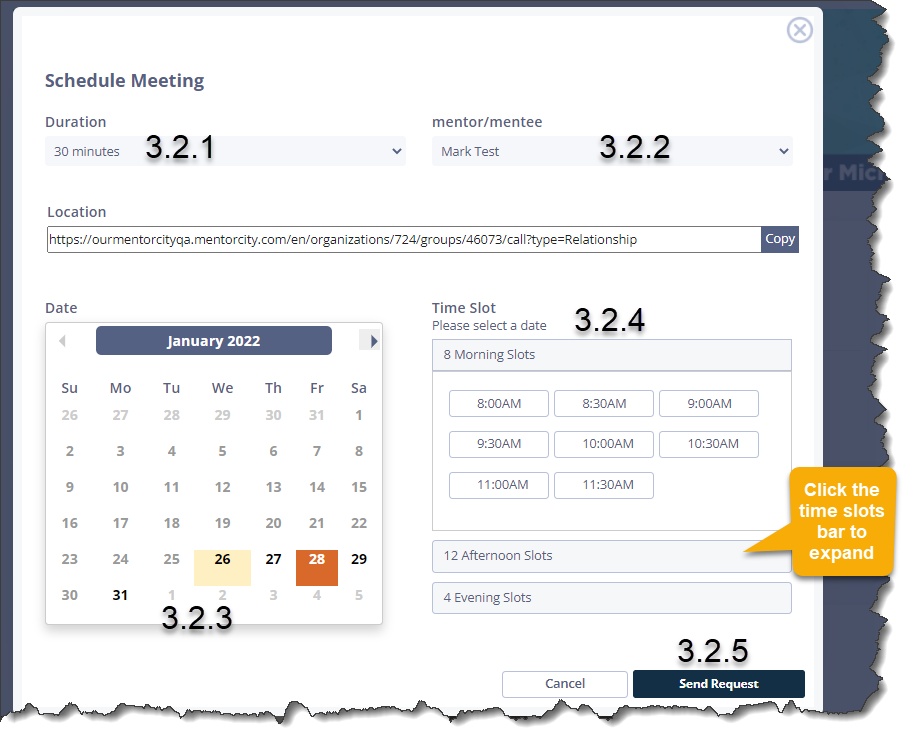
3.2 Now that their availability is set up, they can click New from the "Schedule Meetings" widget.
3.2.1 Select a duration
3.2.2 Select the mentor or mentee they want to meet with
3.2.3 Click the desired meeting date on the calendar
3.2.4 Select a time slot from the morning, afternoon or evening slots by clicking on the desired time.
3.2.5 Click Send Request
Set Personal Goals
Even though goals setting was already available for mentees on the virtual mentoring platform, a few updates were made to improve the feature:
- It is possible to have personal goals which will not be visible for the other person in the mentoring relationship
- Mentors can also set up their own personal goals
- Mentors and mentees can both enter goals for the mentoring relationship
- Sub-goals related to a main goal can also be entered
4 - Steps to set goals from the dashboard:
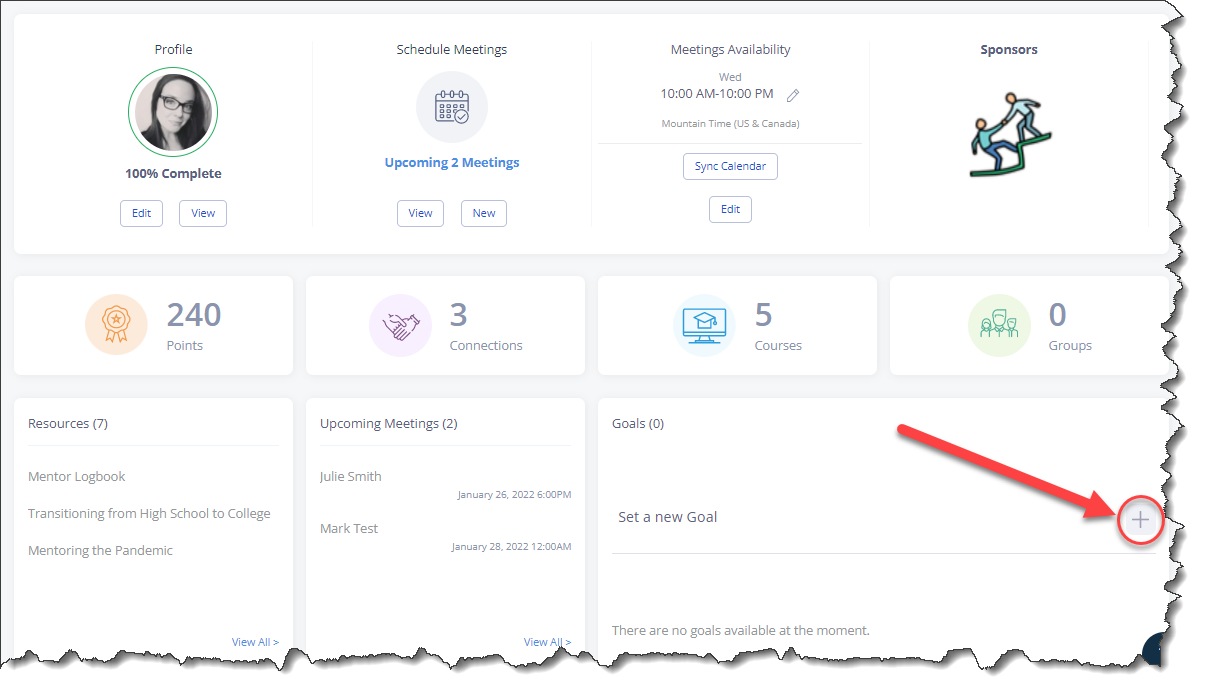
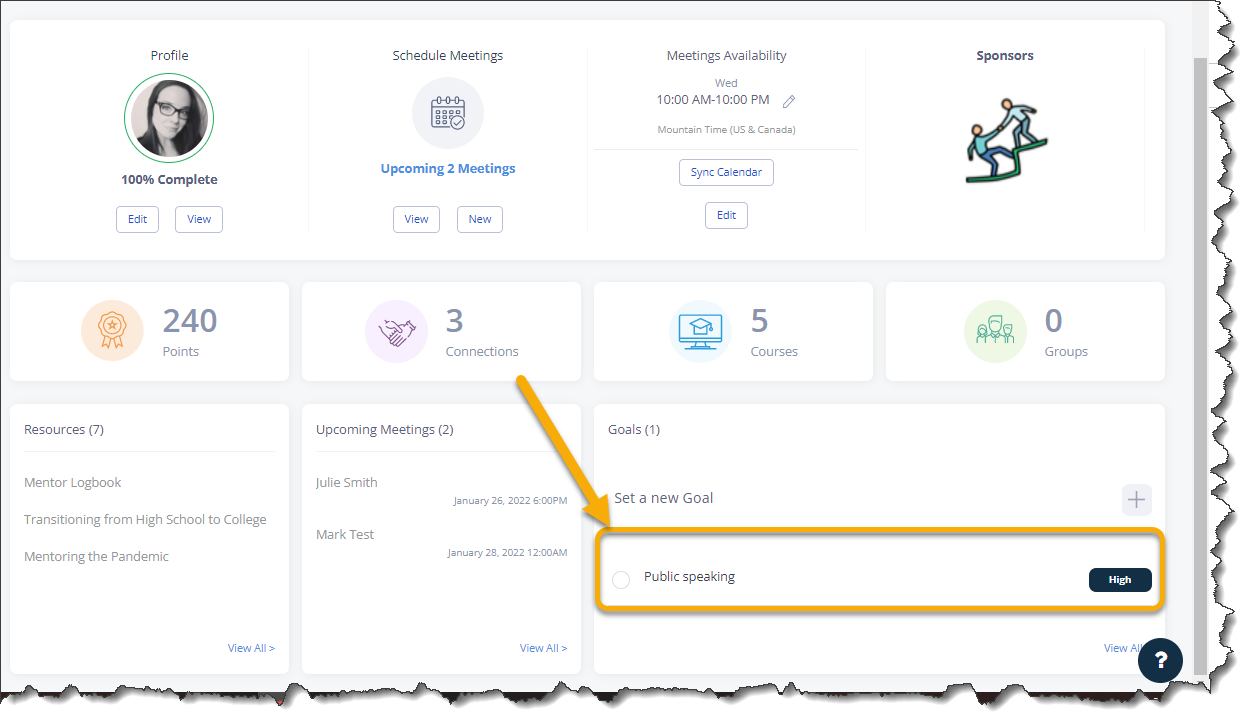
4.0 The mentor and/or mentee needs to click the + sign next to "Set a new Goal" on the dashboard.
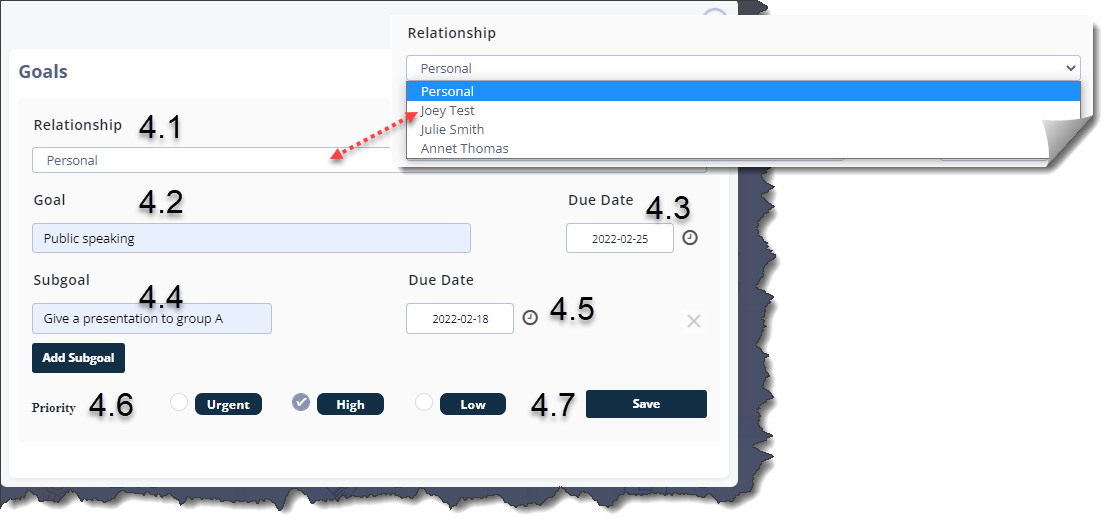
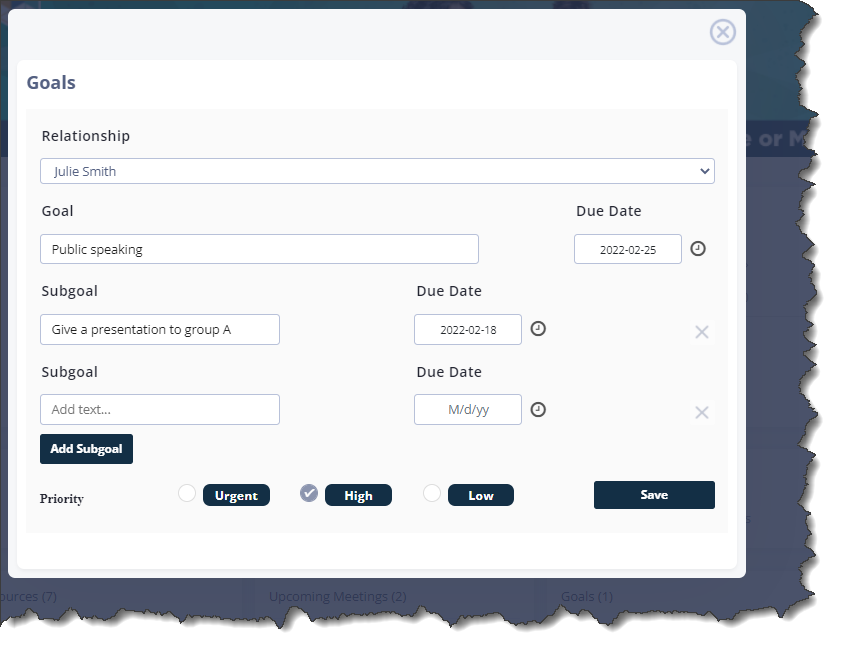
4.1 Chose for whom this goal is intended. Chose either "Personal" if this goal is for the person currently entering the goal or select the name of a mentor or mentee if this goal is meant for the mentorship.
4.2 Enter a description of the goal.
4.3 Select a due date to achieve this goal.
4.4 Optional: enter a sub-goal related to the current goal and click Add Subgoal to keep on adding other sub-goals.
4.5 Select a due date for the sub-goal
4.6 Select a priority
4.7 Click Save
4.8 The goal is now displayed on the dashboard.

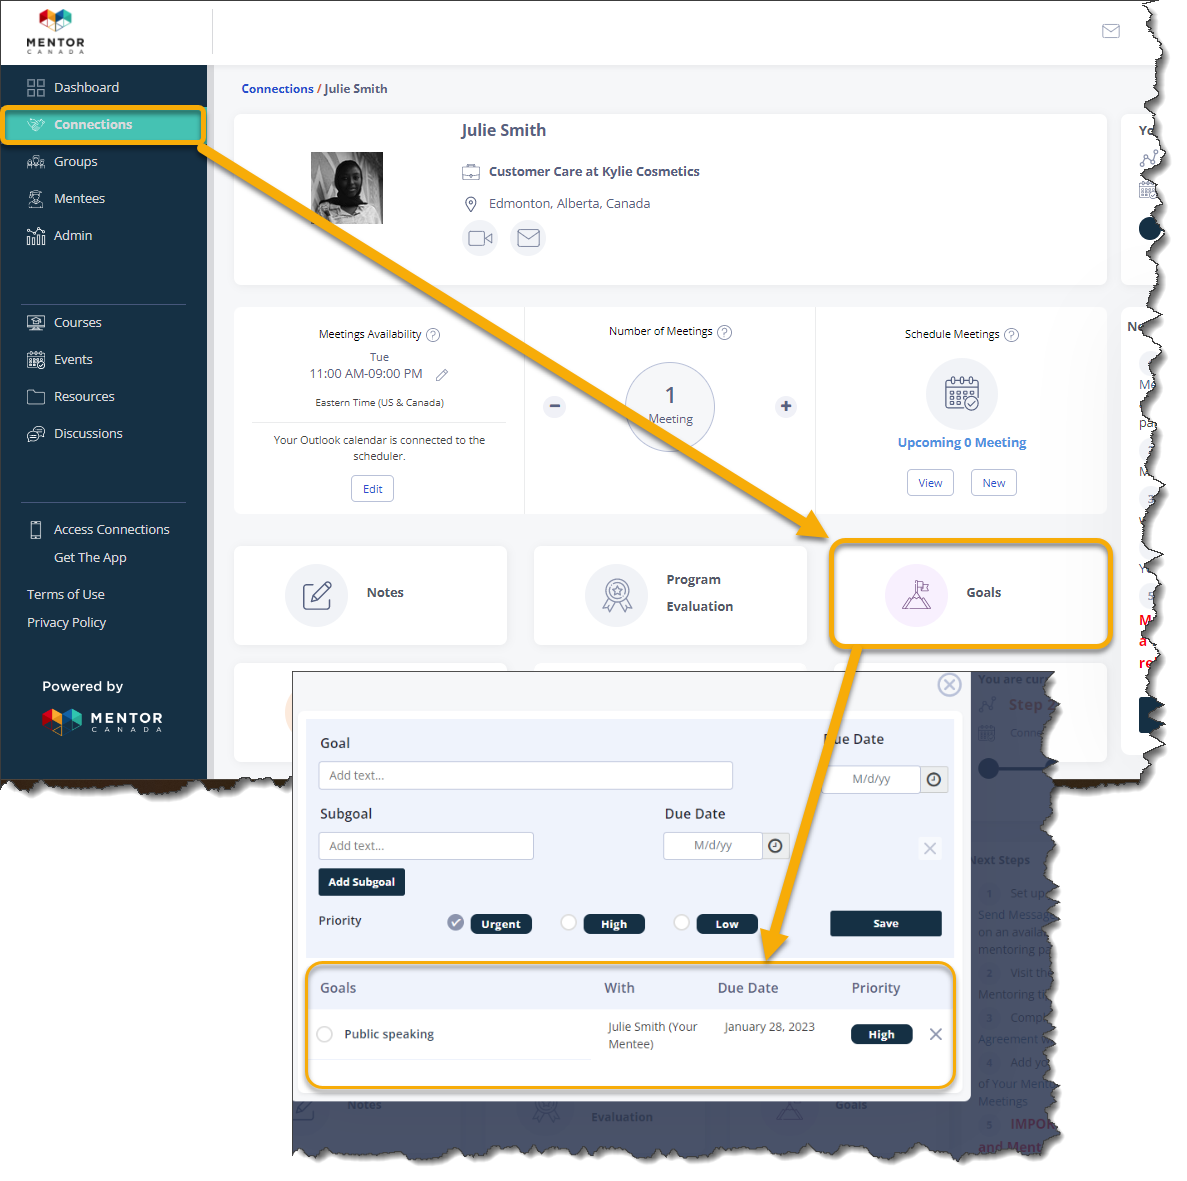
4.8.1 If the goal is for the mentorship, it will also be visible when clicking on your connection.
5- Steps to Edit or Delete an Existing Goal
5.0 Click on the goal to update it at anytime and click Save after editing the goal.
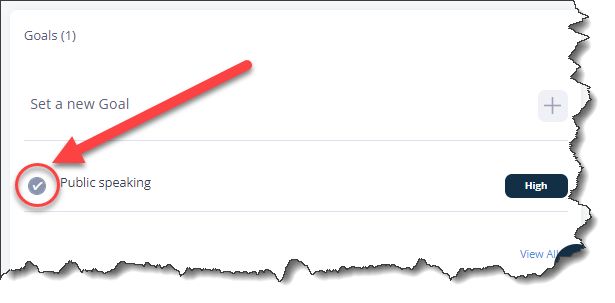
5.1 To mark a goal as achieved, simply check the circle next to the goal description until you see a checkmark.
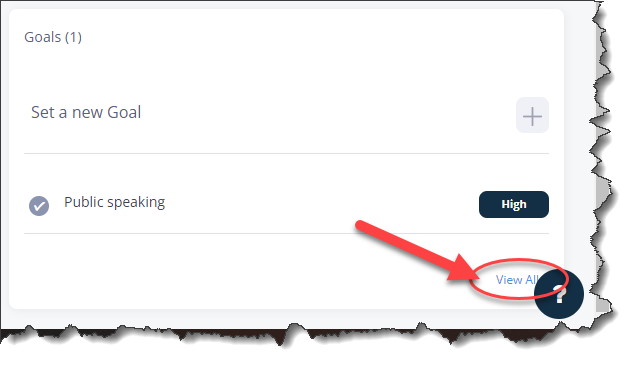
5.2 If you entered a goal in error and need to delete it, from the dashboard click "View All".
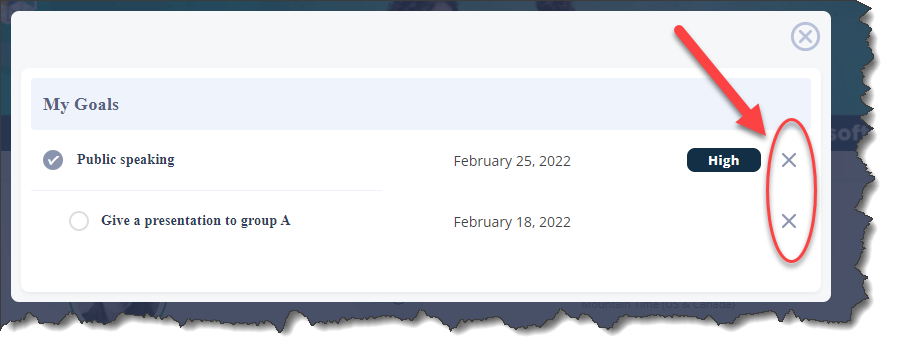
5.3 Click the X sign next to the goal that needs to be deleted.
If you have questions or need further support, please contact our Support Team: support@mentoringcanada.ca