Build Your Resource Centre
Context

The Resource Centre on the virtual mentoring platform is a space designed to provide mentors and mentees with valuable information and materials tailored to their needs.
In the Resource Centre, mentors and mentees can discover a diverse range of materials, including training manuals, handbooks, reference books, directories, processes, videos, and more. These resources are carefully curated to ensure their relevance and accessibility, catering to the actual needs of users.
As you build your resource centre, it is essential to consider the specific requirements of your program members. By incorporating a wide range of resource materials and offering various information services, you can create a comprehensive and user-friendly repository. This will empower mentors and mentees to easily access the materials that align with their interests and goals.
Tip: Encourage mentors and mentees to use the resource center by posting a clickable announcement on their dashboard bringing them to the resources section.
Step 1 - Define Resources' Categories
Before program administrators can create resources for mentors and mentees they must define and create the resources' categories.
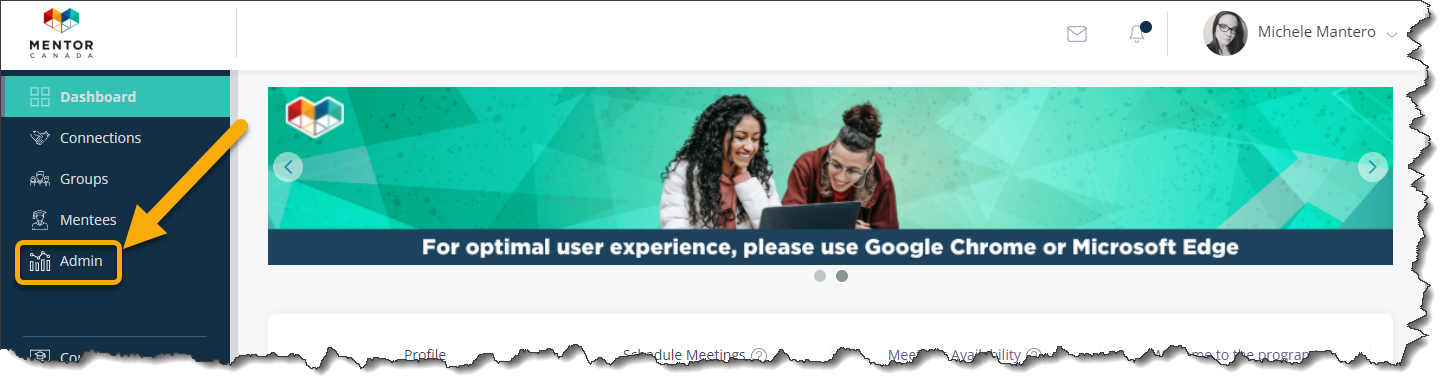
1.0 Click the “Admin” tab on the left-hand side of the platform.
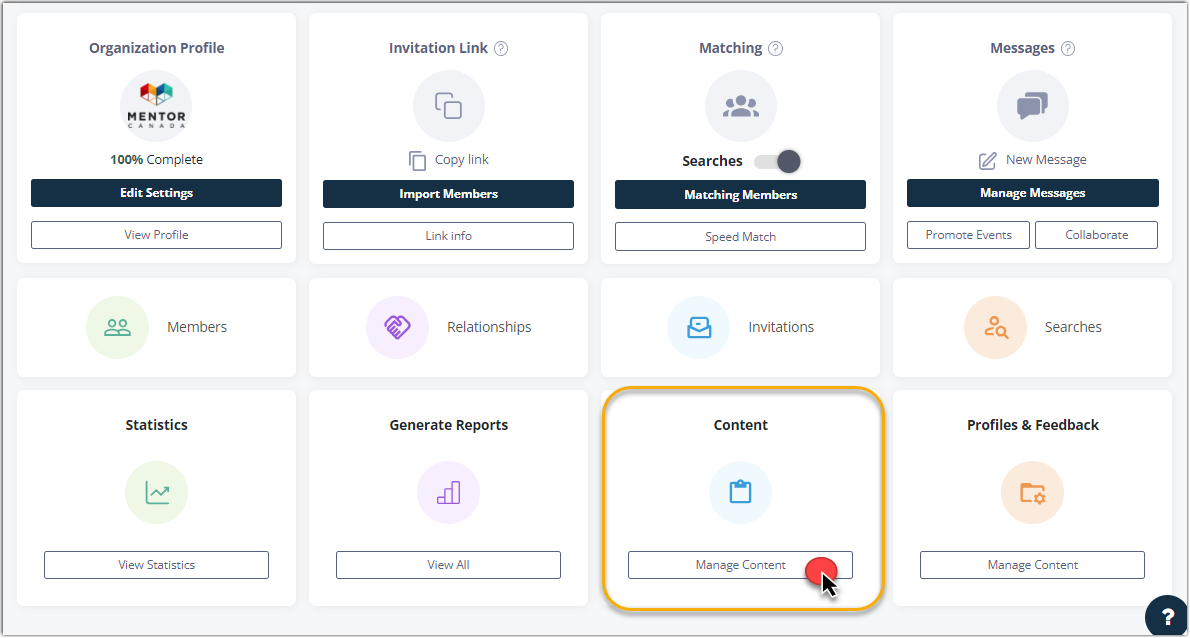
1.1 From the administrator dashboard, navigate to the "Content" tile located on the third row, and click on "Manage Content" to access the corresponding section.
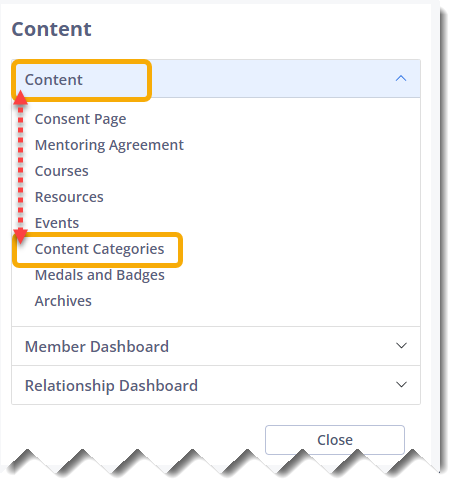
1.1.1 A new dialog box will appear. Expand the selections by clicking on "Content" and subsequently choose "Content Categories"
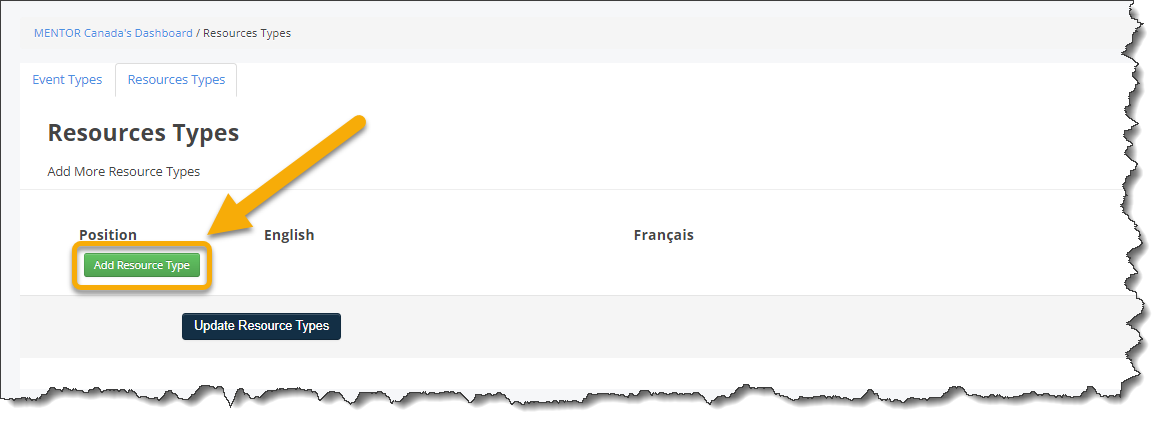
1.2 Click the "Resources Types" tab on the right.

1.3 Click Add Resource Type as many time as required depending on how many types you need. In this example we will do 5 resource types.
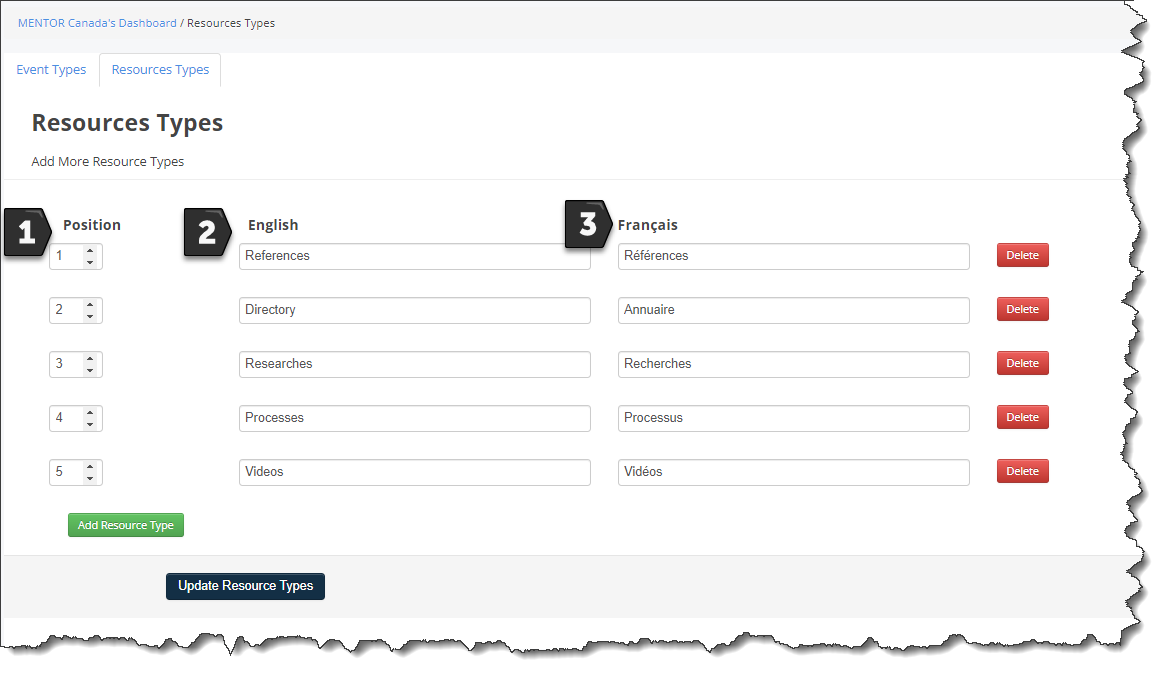
1.4 Enter in those fields:
1) Position for the resources type which is basically the sequence in which this type appears.
2) A resource type (category). i.e. Researches
3) Optional: The French translation for each resource category.
1.5 Click Update Resource Types to save the created resource types.

Step 2 - Build the Resource Centre
Once the resource types have been created, you can now add to your resource center.
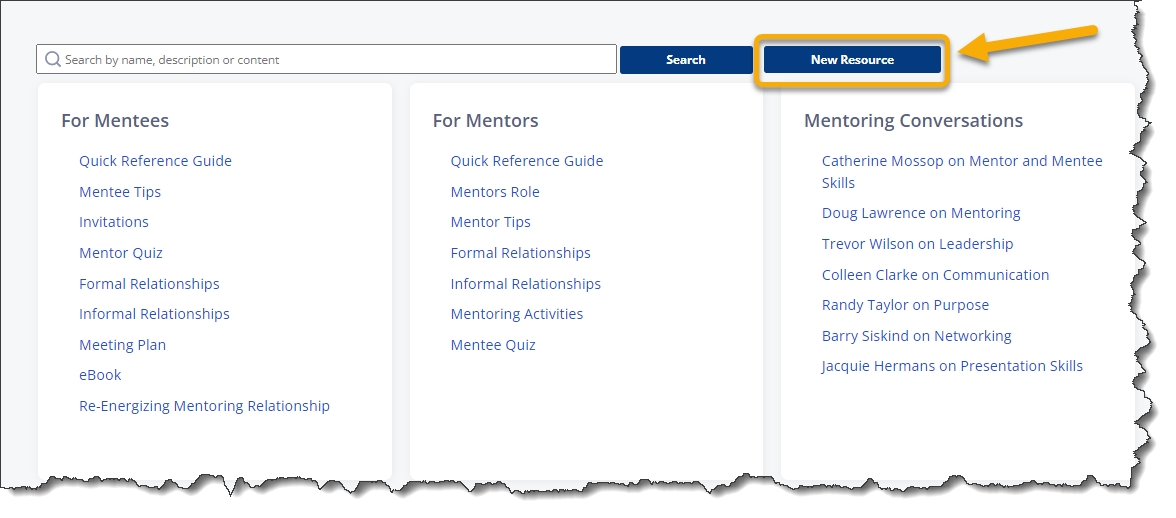
2.0 Click on "Resources" on the main menu on the left.

2.1 Click on New Resources.
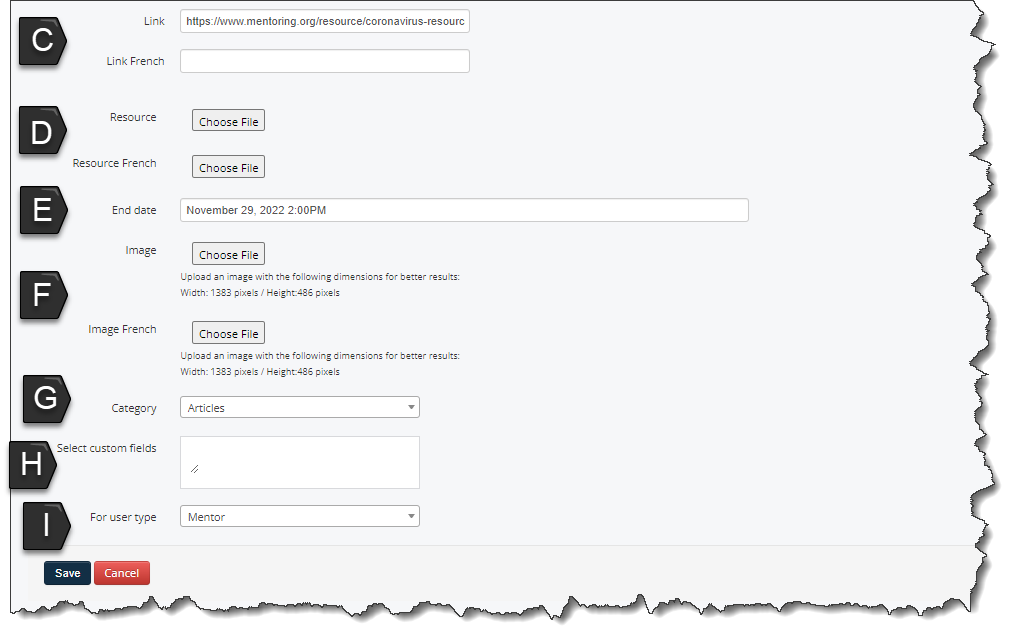
2.2 Complete each fields as indicated below:
A) Name: The title of the resource shared.
B) Description: This is the resource itself or a description of the resource if it is attached as a file or if a link to an external resource is shared. There is only one font size offered in the description. However, it is possible for the program administrator to format it in Microsoft Word with a font and size of their choice and then cut and paste the new format in the description box.
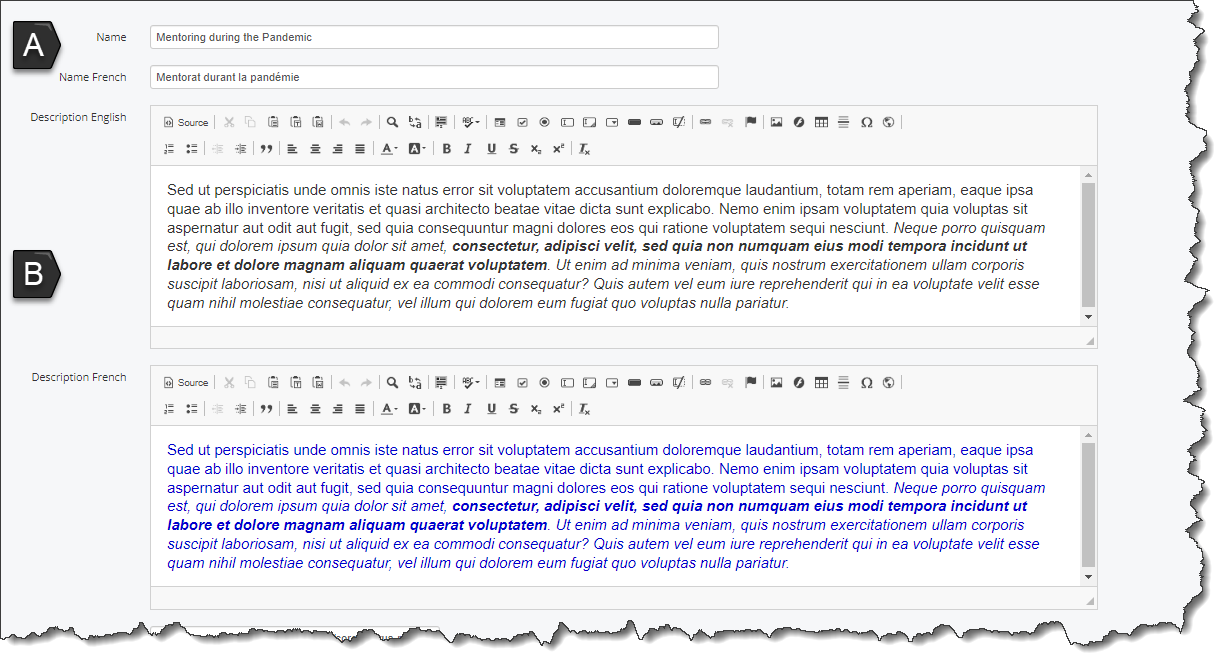
Each field is duplicated for a French translation and is labelled with the word "French". i.e. Description French, Link French etc.. The use of the translation fields is optional.
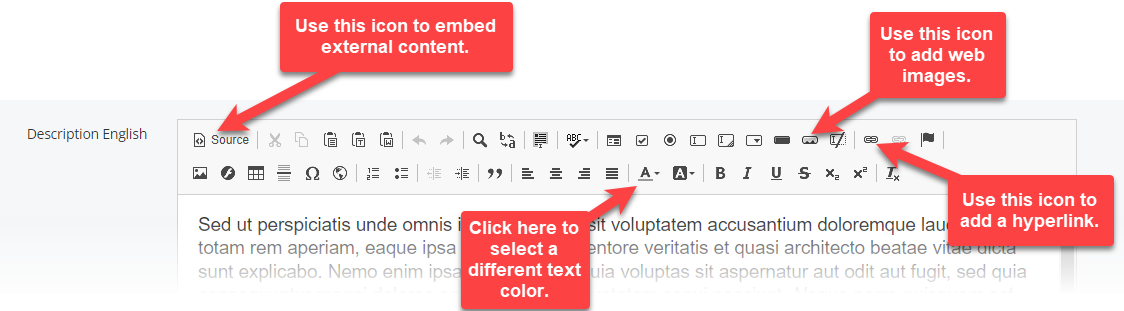
Additional Information - Formatting the Body of the Description
Use the bar at the top of the description box to format your text with bold, italic, point forms, add hyperlink, images etc....
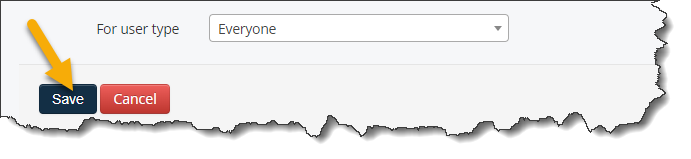
2.3 Click Save to finalize.
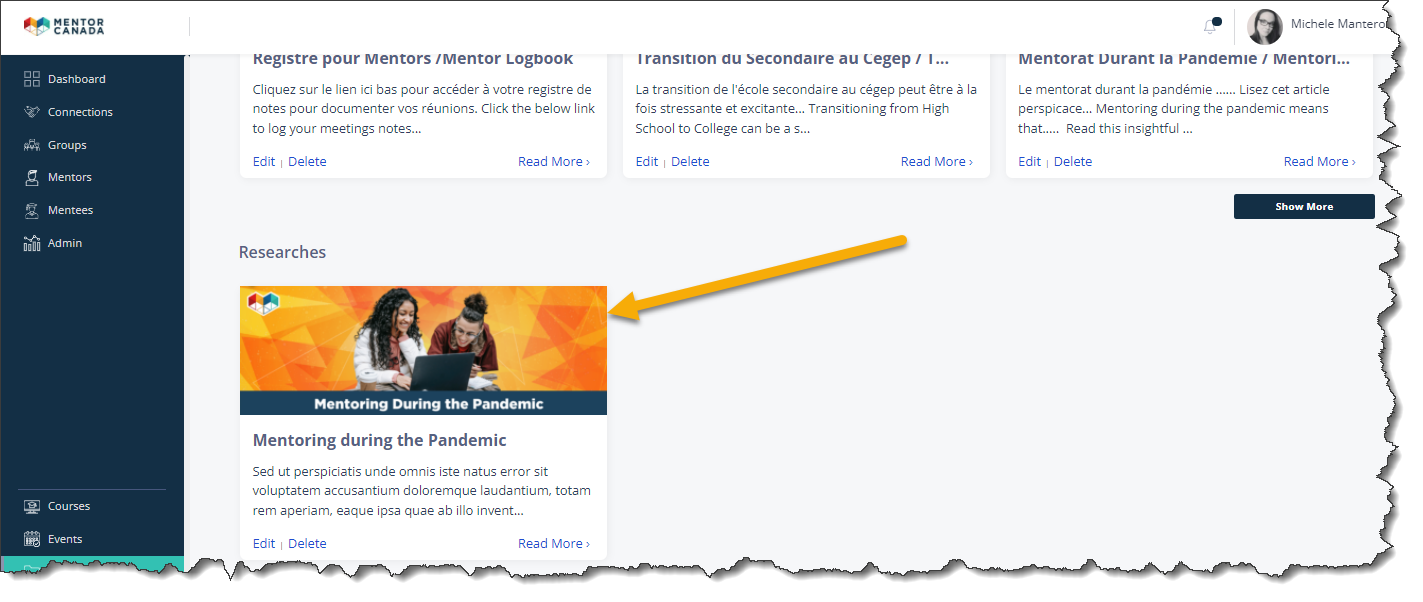
2.4 The newly created resource now appears under the "Researches" category created earlier.
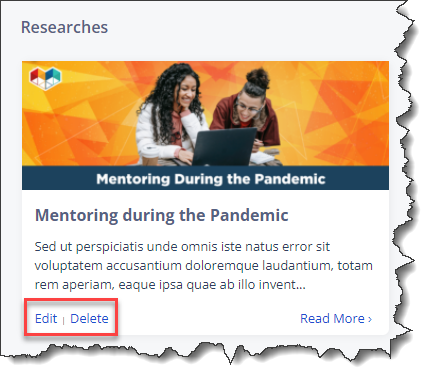
2.4.1 Program administrators can click on "Edit" or "Delete". Mentors and mentees will not have that option unless given the permission.
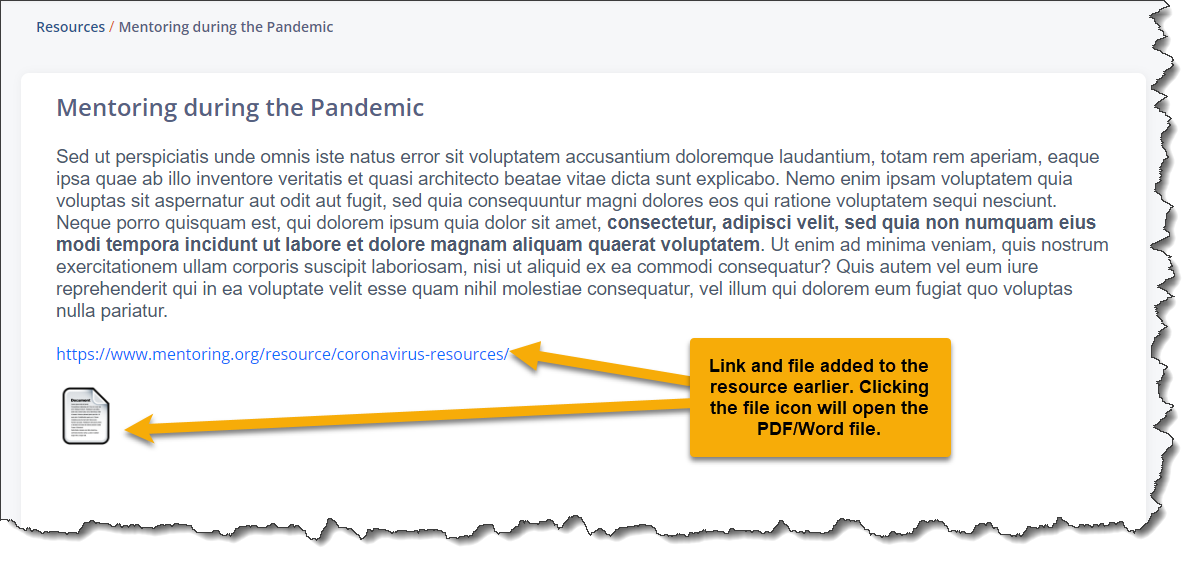
2.5 When mentors and mentees click on the resource, this is what they see (with the example build in this article).
If you have questions or need further support, please contact our Support Team: support@mentoringcanada.ca